EchoVideo: Post-migration issues and fixes
Following December 2025, Kaltura was decommissioned and all existing media assets were migrated over to EchoVideo. This page provides step-by-step guidance on common post-migration queries and solutions.
Further details and FAQs regarding the transition can be found on the Video Management System (VMS) consolidation project site.
Embed errors
Embed errors in the LMS occur when a page’s embed code has not been changed from the original Kaltura media to the EchoVideo copy of the asset. Embed codes allow content from external sources - such as EchoVideo - to display directly on your LMS page.
While the VMS consolidation project facilitated the updating of media embeds for LMS subjects from 2024 and 2025, subjects and communities created beyond this range or with content imported from older subjects will contain embed errors unless manually updated.
Additionally, Kaltura embeds set-up in external tools (for example, H5P, FeedbackFruits) will also need to be updated manually.
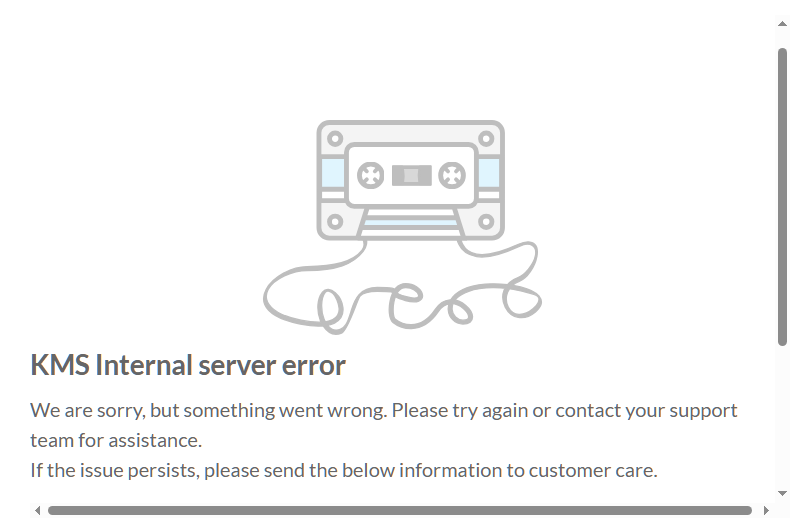
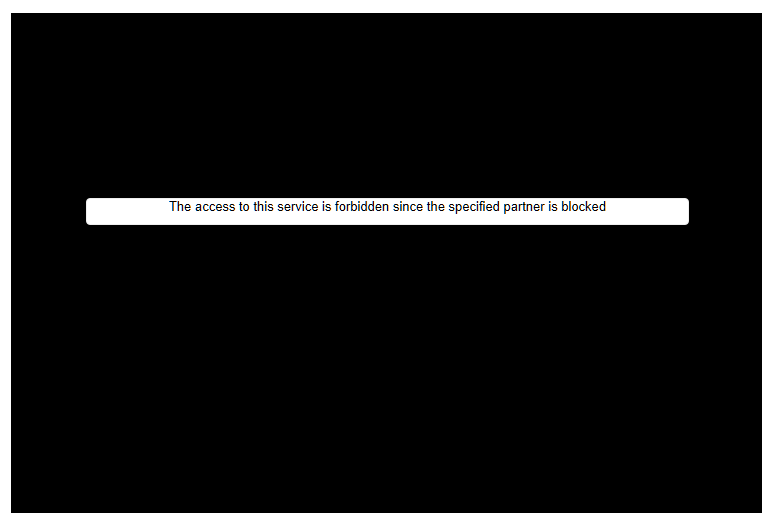
To update the embed code, locate the matching media asset in your EchoVideo Library and follow the steps outlined in our embed EchoVideo media in the LMS guide.
Where you are unable to locate a media asset in your Library, please submit a support ticket with links to the affected pages.
Requesting access to media
If media cannot be located in your EchoVideo Library, it means that you are either not listed as the owner of the asset or it has not been shared with you. Where access is required, we recommend that you:
- Identify the media owner. If the media owner is unknown, please submit a support ticket for assistance.
- Once the media owner has been identified, you will need to contact them to discuss access options.
- If the media owner is an existing staff member, you will need to contact them directly for access.
- If the media owner is no longer with the University, you will need to contact their supervisor to discuss access options. Once a decision has been made, submit a support ticket with details of the decision to have an admin grant required access.
Below are the possible access options which can be discussed with the media owner or their supervisor:
A. Share the media: The media owner can share the media directly with you. The asset will then appear in your EchoVideo Library. From there, you can Make a Copy of the media for ownership over the duplicate, which would allow you to edit and share/embed it at your discretion. Note that any changes made to one version of the media will not affect its copies.
B. Add the media to a Collection: The media owner can add the media and other staff members to a Collection. Collections behave as collaborative spaces where multiple users can interact with shared media.
C. Transfer ownership of the media: The media owner can opt to transfer the ownership of the media to a nominated staff member (for example, the requester) by submitting a support ticket. An admin will then process the transfer of ownership for selected media.
Granting access as a media owner
How do I share media directly to another user?
- In your EchoVideo Library, locate and click on the media asset.
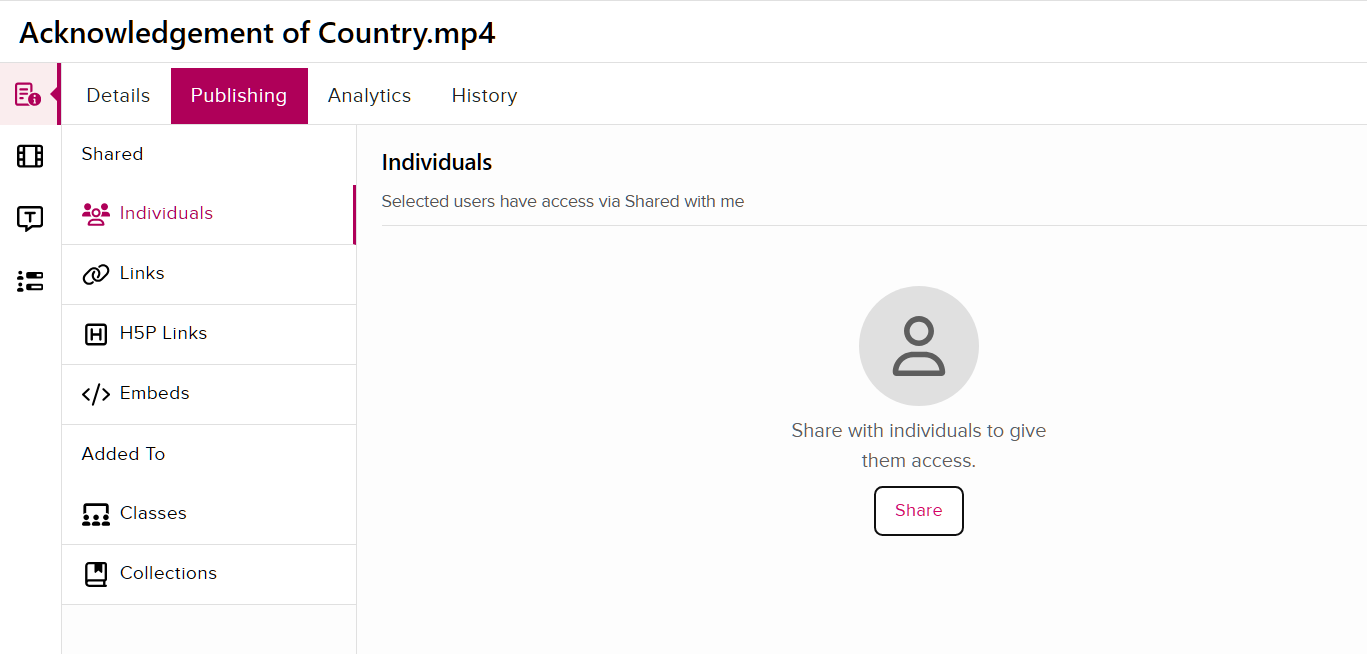
- Once in the media details page, click on the Publishing tab.
- From the Individuals page (left), click Share and enter the name/email address of the user you wish to share the media with.
- The media will now appear in the user’s EchoVideo Library. Note that they will not be able to edit or share/embed it.
How do I duplicate media?
- In your EchoVideo Library, locate the media you would like to duplicate and hover over the thumbnail to summon the three-dot menu.
- Click on the three-dot menu and select the More Actions drop-down.
- Click Make a Copy.
- The duplicated media will now appear in your EchoVideo Library where it can be viewed, edited, and shared/embedded.
How do I add media to a Collection?
- In your EchoVideo Library, locate and click on the media asset.
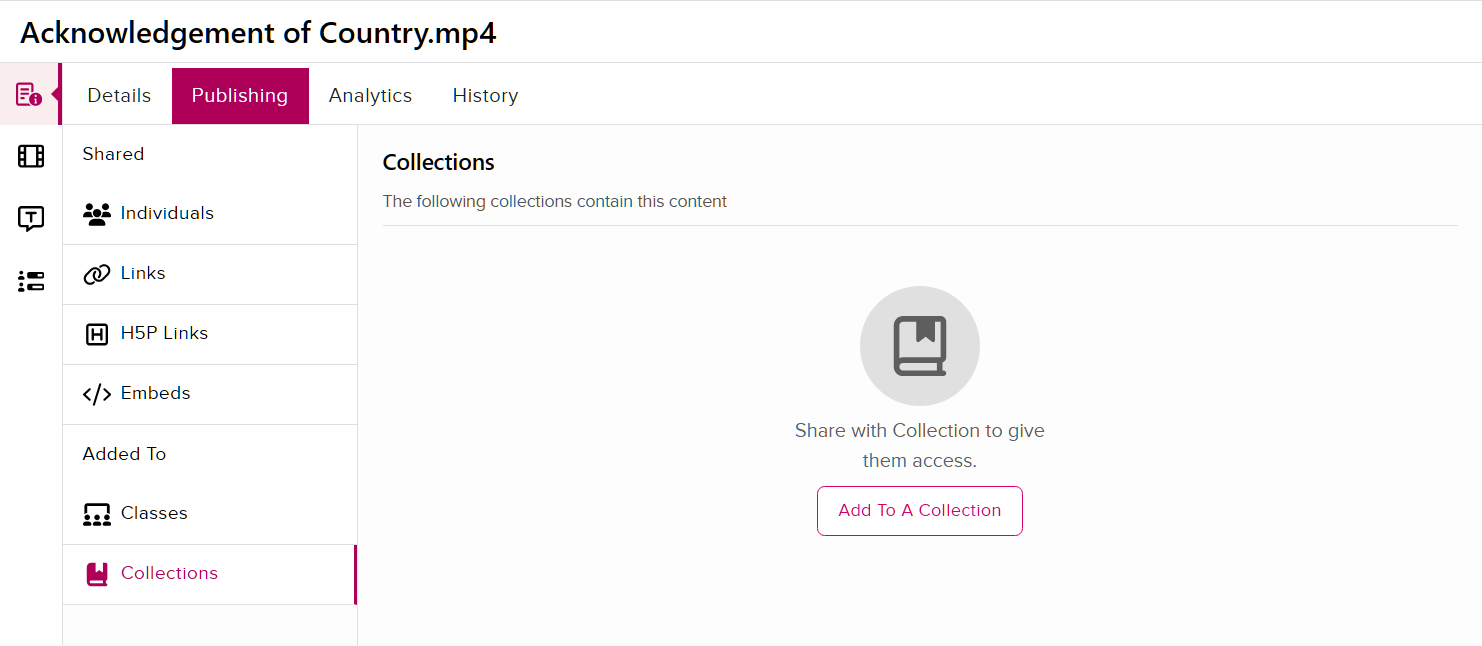
- Once in the media details page, click on the Publishing tab.
- From the Collections page (left), click Add To A Collection and select either an Existing Collection or a New Collection. If creating a New Collection, you will need to name the collection before clicking Confirm & Add.
- From the Collections tab, locate and visit your Collection.
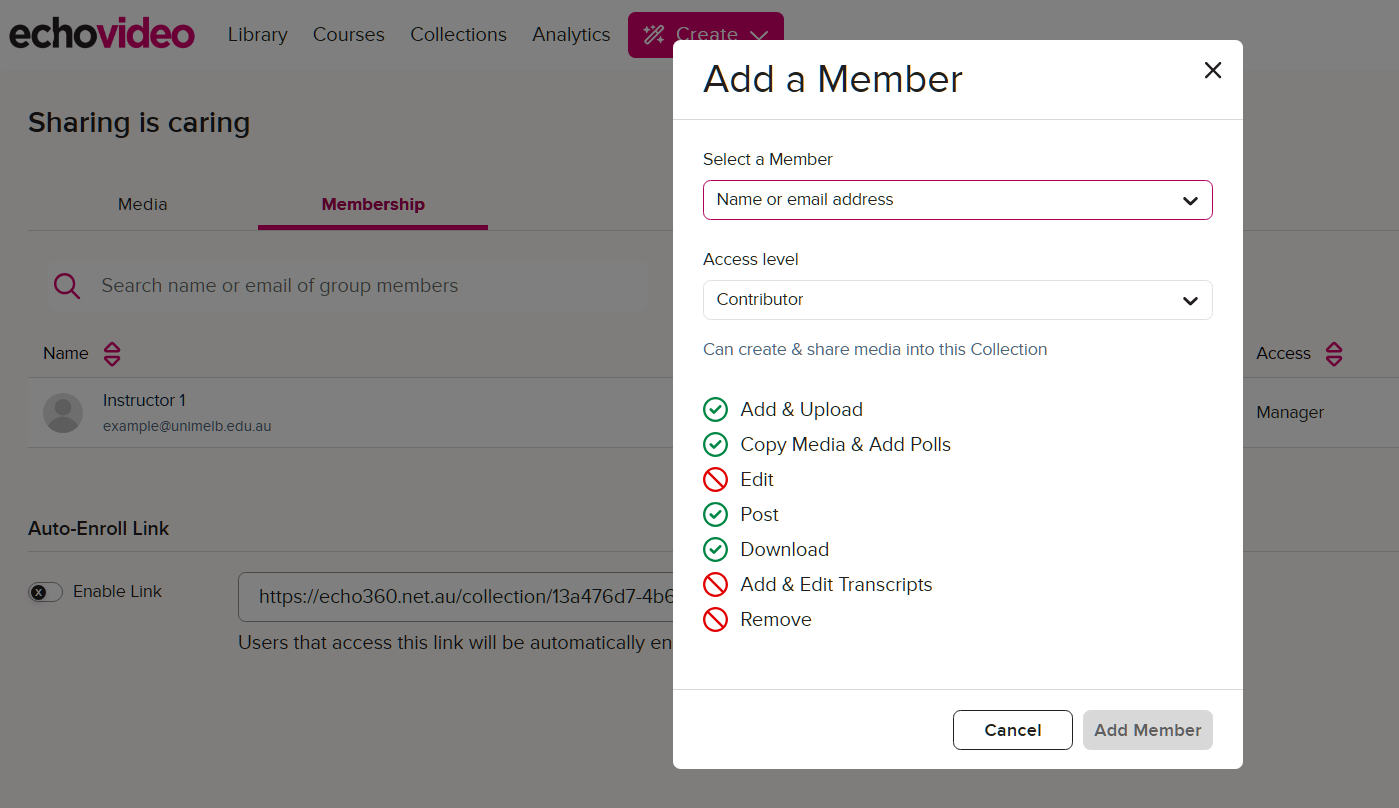
- Under the Membership tab, click +Member to invite collaborators. When adding new members, managers of Collections are able to configure the specific levels of access granted to members.
Transcription
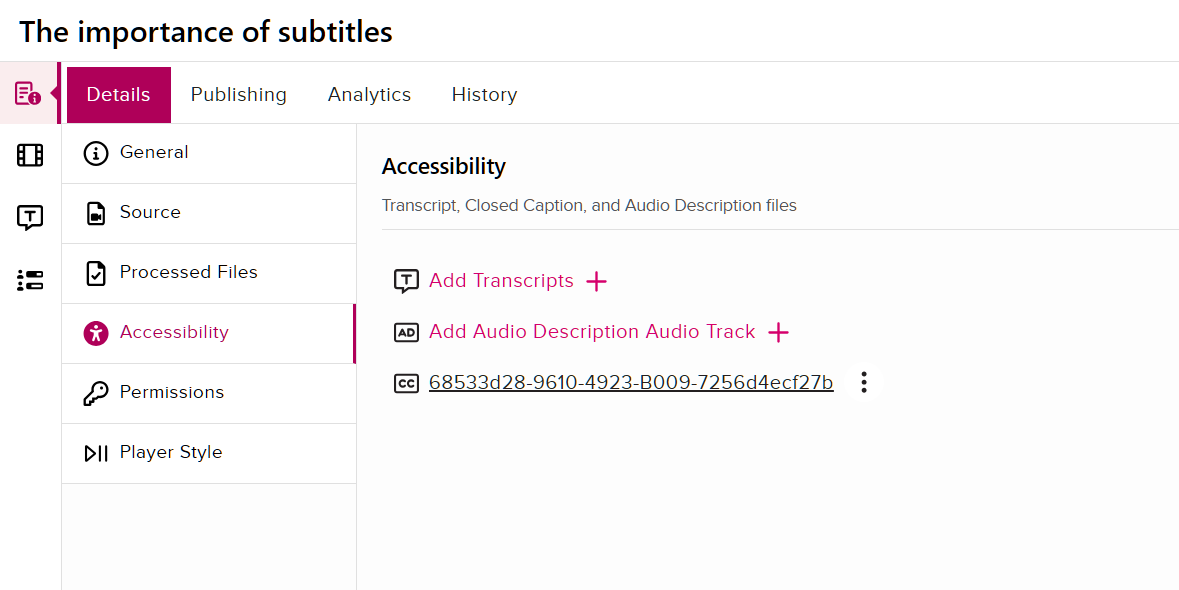
As part of the migration process, auto-transcription may be excluded media that has recently been migrated to EchoVideo. However, closed captioning may be available. Where this is the case, you can reinstate transcription by:
- In your EchoVideo Library, locate and click on the media asset.
- Once in the media details page, click on the Accessibility page (left).
- Click on the closed caption file to download it as a (.vtt) file.
- Click Add Transcripts+ and upload the caption (.vtt) file.
Known issues
In rare instances, migrated media may encounter the following issues:
- Media is truncated leading to assets that are cut short of the original version.
- Missing video streams leading to assets that only display one video stream where the original version contained multiple video streams.
If these issues are identified in your migrated media, please submit a support ticket.
Additional resources
This guide was last updated 19 Aug 2026.
Submit an LMS support request for further assistance or to report any errors or omissions in this guide.