Banner tool user guide
This purpose-built tool provides an easy way for staff to create branded banners and cards for use in their Canvas subjects and communities.
The banner tool allows you generate a banner specific for your subject with an image of your choosing. The banner is to be uploaded into your subject at the top of the subject home page. The banner includes the subject name, subject code and a meaningful image.
The aim of having a banner in every subject is to provide a consistent experience for students accessing all their subjects. It provides a visual cue of the landing page for the subject and identifies clearly to the student which subject they are in.

Ensure you or the University owns the copyright of the image you upload to the banner tool or cite the source of the image below the banner, to meet the University Copyright requirements.
Subject card images appear in the Canvas Dashboard. When you download the banner, the tool will also generate a subject card image for your Canvas LMS subject, using the image you uploaded.

The dimensions of the banner and subject card files are scaled for use in Canvas. The generated images and colour options provided comply with and reflect University of Melbourne branding.
Tips for creating and editing your banner
The banner tool provides a range of options for creating and fine-tuning your banner:
Text options
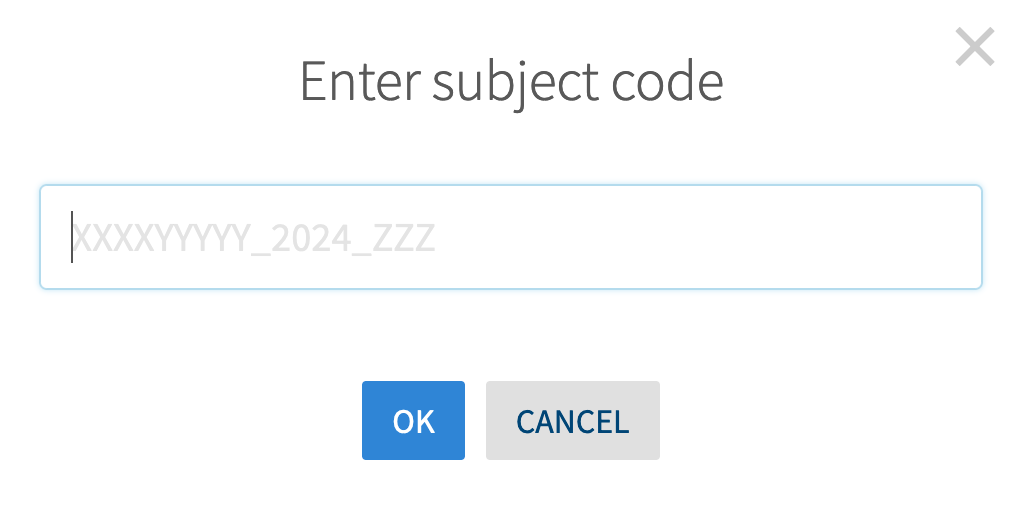
Enter Subject Code
Type in the full subject or community code in the format ABCD12345_2024_SM1 or COM_ABC_123456.
Enter Subject Title
Type in your full subject or community title.
Note that each of these fields allow a maximum of 32 characters.
There are optional second and third fields. Use these if you have a long subject name or wish to provide additional context.
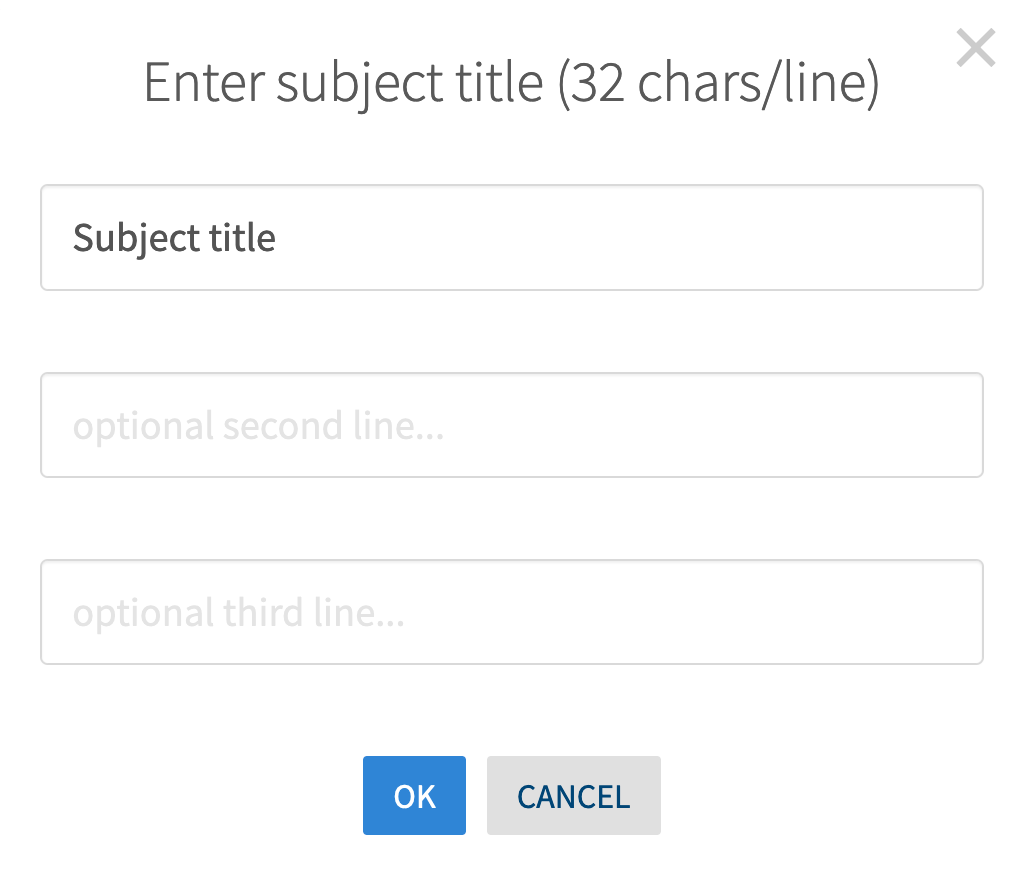
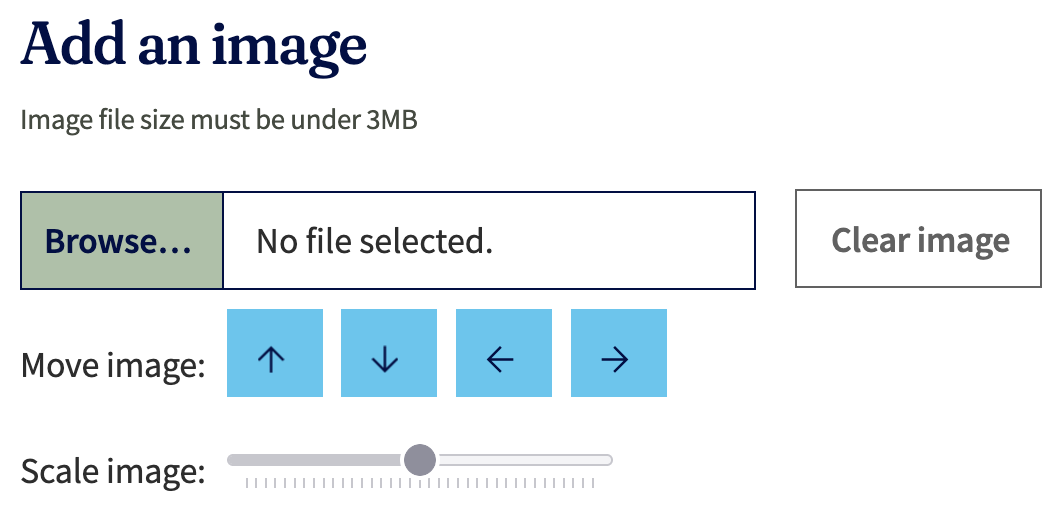
Image upload
It is your responsibility to ensure that you or the University owns the copyright of the image, otherwise include a citation for the image below your banner to meet University copyright requirements.
- Only JPG, PNG and GIF file types are supported.
- Image file size must be under 3 MB.
Click Browse... to select your image file to upload. The image will appear on the right-hand section of the banner.
Use the Move image buttons to move the image around in this section and find the best crop.
Use the Scale image slider to zoom in or out of the image. At some point the image will begin repeating to keep the area filled.
Icon options
Choose an appropriate icon from the Icon options drop-down menu.
Large square colour options
The large square is the section located to the left of the University of Melbourne logo.
To change the colour of this section, click one of the 8 coloured boxes.

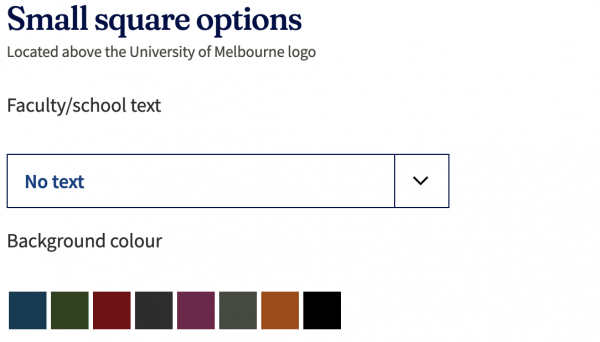
Small square options
The small square is the section located above the University of Melbourne logo.
- Add your faculty/school name by selecting from the Faculty/school text drop-down menu.
- To change the background colour of this section, under Background colour click one of the 8 coloured boxes.
Download the banner image file
Adjust the above settings in any order, until you are satisfied with your banner. When ready, download the image file:
- Under Upon completion click the Download subject banner button. A Generating banner download message will appear.
- The banner will be downloaded to your computer as a PNG image file. It will be titled in the format of banner-ABCDE_2024_SM1.png.
- Depending on your browser, the file may save directly to your Downloads folder, or give you the option to choose an appropriate location on your computer and click Save.
Download the subject card image file
If you have uploaded an image, you will be provided with a subject card file in addition to the banner. You will not be presented with this option if you have not uploaded an image.
The subject card image can be uploaded to your subject or community and appears on the Canvas Dashboard.
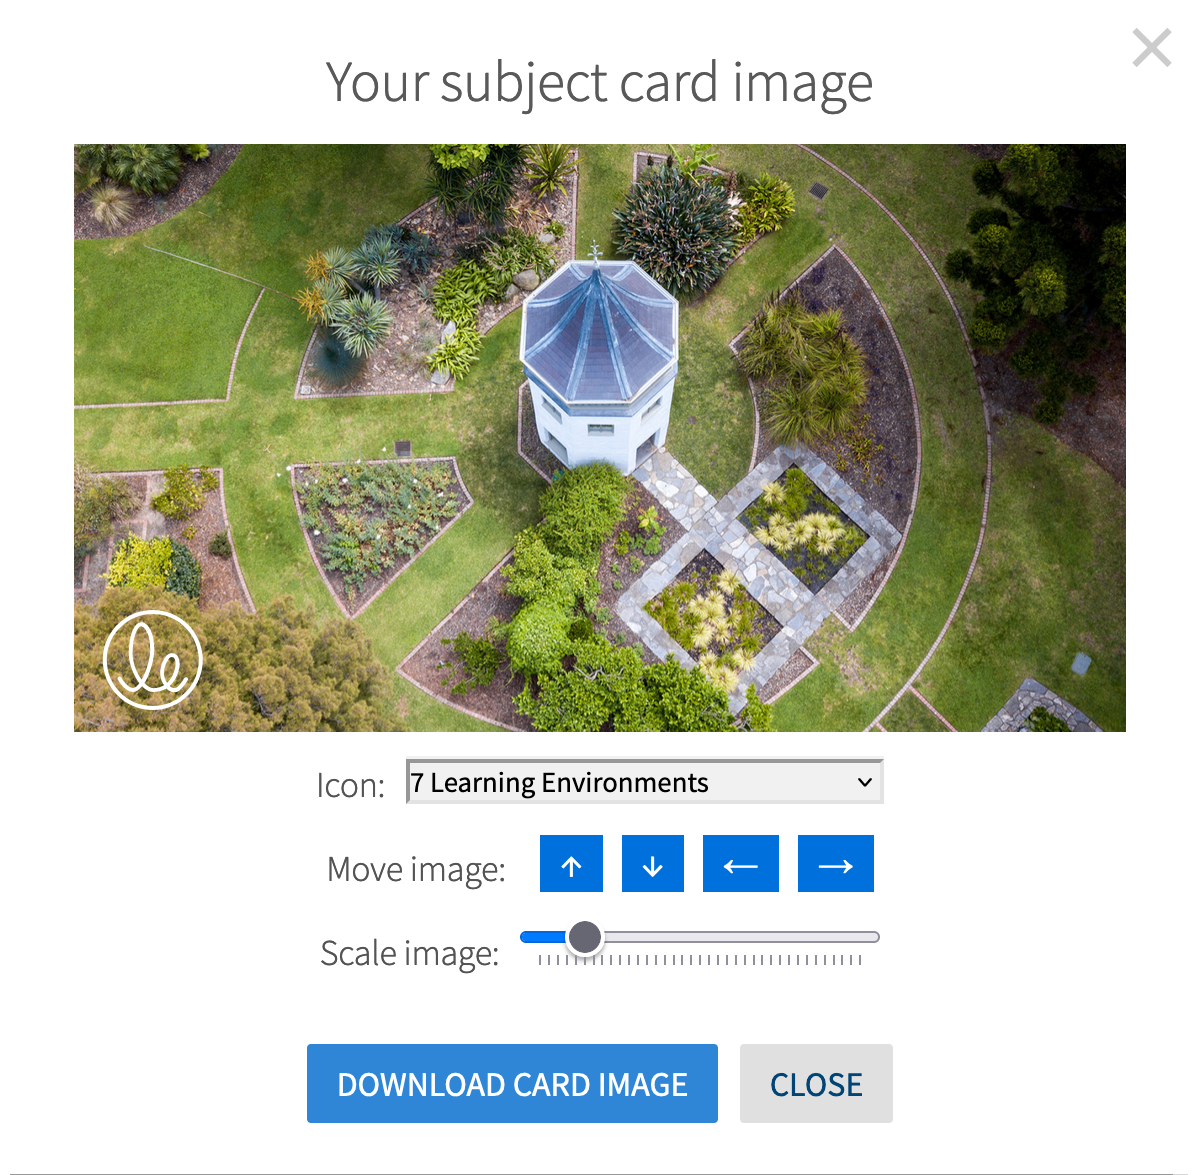
Options to edit your subject card
You may choose to apply the same Icon as above, or select No Icon to remove it.
Use the Move image buttons to move the image around in this card and find the best crop.
Use the Scale image slider to zoom in or out of the image. At some point the image will begin repeating to keep the area filled.
When ready, click the DOWNLOAD CARD IMAGE button.
The subject card image will then download to your computer as a PNG file. It will be titled in the format of card-ABCD12345_2024_SM1.png
Choose an appropriate location on your computer and click Save.
Upload the banner to your subject
You can now upload your banner to your subject or community home page.
- From the Dashboard or Subjects link in Canvas Global Navigation, select the subject you wish to add the banner to
- Check you are on the Home page (point A shown) and click the Edit button in the top-right
- If a sample subject banner is still there, delete the sample subject banner by selecting the image then clicking Delete on your keyboard
- Banners should appear at the very top of the content page, so click into the text editor at the very top of the content (point B shown)
- Click the Images icon (point C shown) in the editor toolbar and select Upload Image.

- Follow the prompts to select your downloaded banner file and Submit
- The banner image will now embedded in your subject. You may need to tweak some settings to ensure it appears correctly. Select the image and click on the Options button that displays underneath (point A shown).
- An Image Options window that appears, select Decorative Image (point B shown)
- Choose Custom from the Size dropdown and enter 2000 into the width field (point C shown). The image will resize depending on the users screen. Click Done to finish.
- Click Save to update the page.

More information on embedding images is available in the Canvas Community guide: How do I embed images from Canvas into the Rich Content Editor?
Upload the card image to your subject
Your subject card image has been generated by the banner tool using the recommended image dimensions.
- From the Dashboard or Subjects link in the Global Navigation bar, click on the subject you wish to add the subject card image to.
- Click Settings in the subject navigation menu.
- While in the Subject Details tab, click on the Choose Image button.
Note: If an image is displayed instead of the Choose Image button, click the three dots on the image to either change or remove the image.

- Follow the prompts to select your downloaded card file and Submit.
- Scroll to the bottom of Subject Details page and click the Update Subject Details button.
You can check how your subject card image looks by viewing the subject card in the Canvas Dashboard.
More information on updating your subject card image is available in the Canvas Community guide: How do I add an image to a subject card in the Dashboard?
This guide was last updated 07 Aug 2025.
Please report any errors or omissions in this guide by submitting an LMS support request.