Zoom - Access, download, and join meetings
Zoom is a high-quality video and audio online conferencing tool. Staff can choose to enable Zoom in Canvas LMS subjects to host and facilitate webinars and other online sessions.
What can I use to access Zoom?
- Computer - The most popular option is to download Zoom and join sessions using your laptop or computer.
- Device - With your smartphone or tablet, you can join a Zoom session by using the Zoom app, Zoom Cloud Meetings. Visit the relevant app store for Apple iOS or Google Play.
- Phone - If you are having difficulty with your computer or smartphone, there is also an option to join Zoom by dialling in on your phone.
Note: We do not recommend using your phone if you have the option to use a computer. This guide assumes you will be using a computer or laptop to access Zoom. The differences are outlined in Zoom's guide: Desktop client and mobile app comparison.
Download Zoom from University download centre
To install Zoom at your earliest convenience ahead of the first Zoom session, you can access it from the University of Melbourne Zoom download centre. Install the Zoom Client for meetings software.
Download Zoom from a Zoom link
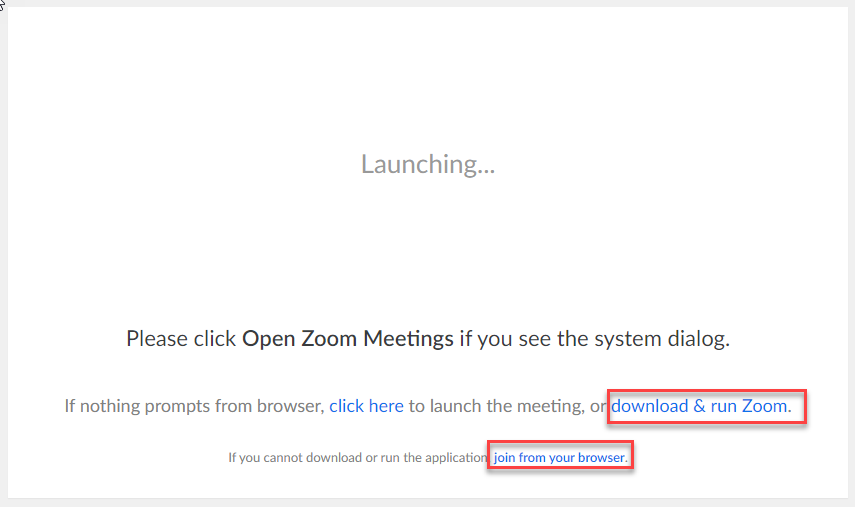
If you have not used Zoom before, you will prompted to install it the first time you follow a link to access a Zoom session. The download should begin automatically. If not, click the download & run Zoom link that is available on your screen. The download should take no more than a few minutes.
Once downloaded, open the Zoom_.exe file from the Downloads bar at the bottom of your browser. Or, navigate to the Downloads folder on your computer and double-click Zoom_.exe
If you are prompted with a message to allow the install of Zoom selected Yes. This will initiate the Zoom Installer.
If you are unable to install software on the device you are working on, click the option to Join from your browser.
Log in to Zoom
Once you have downloaded and installed the Zoom Client for Meetings software, you will be able to log in with your University credentials.
- Open the Zoom software on your device.
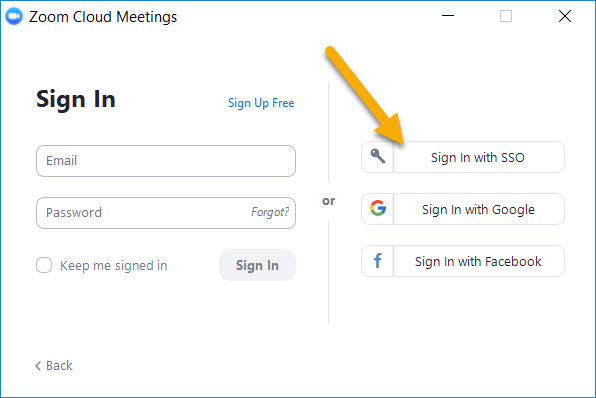
- In the Sign In window, click on Sign in with SSO on the right-hand side.
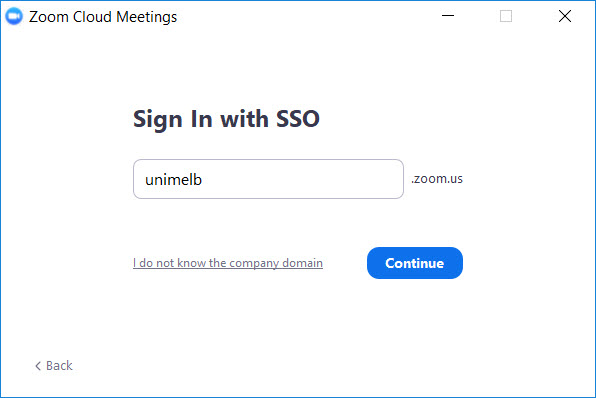
- Type unimelb into the text field. Click Continue.
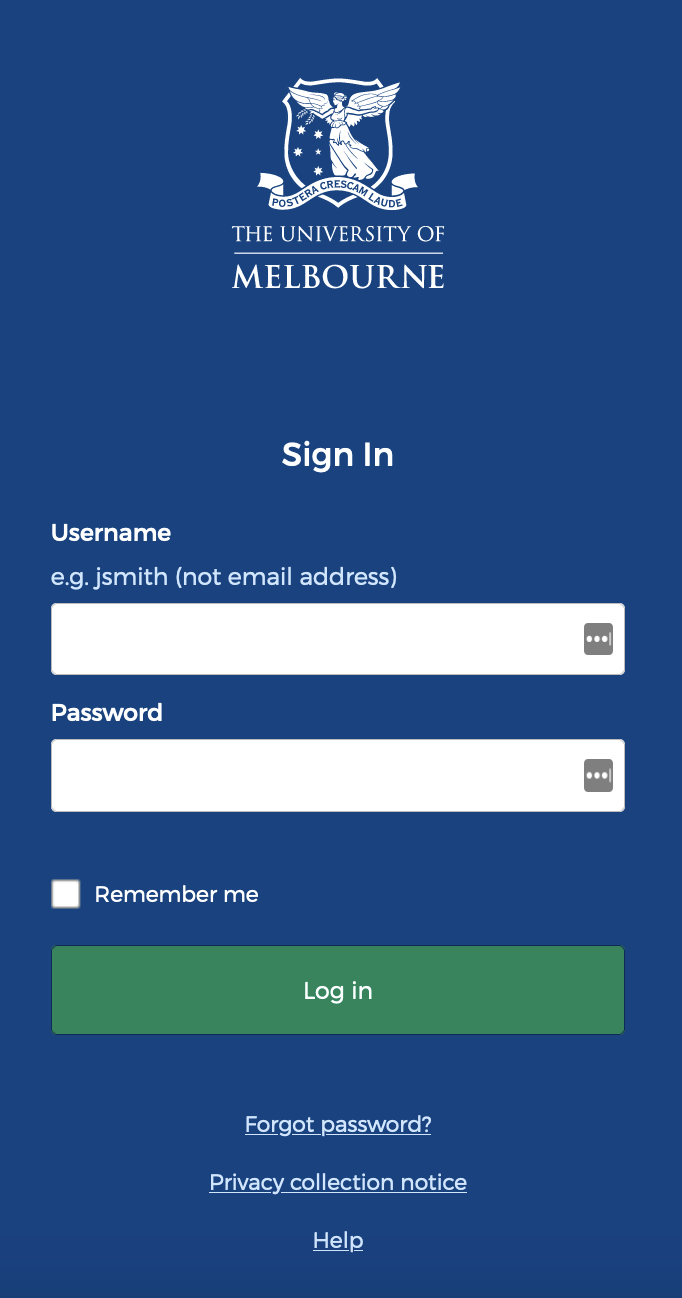
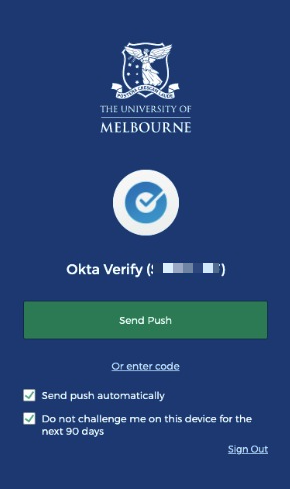
- This will bring you to a University of Melbourne login page. Enter your student username and password and click Login. If prompted, verify your identity with the Okta Verify app.
- Wait for the Zoom software to reload, or click Launch Zoom.
How do I join a Zoom session?
There are a number of ways you may be invited to join a Zoom Meeting, either in or outside of the LMS:
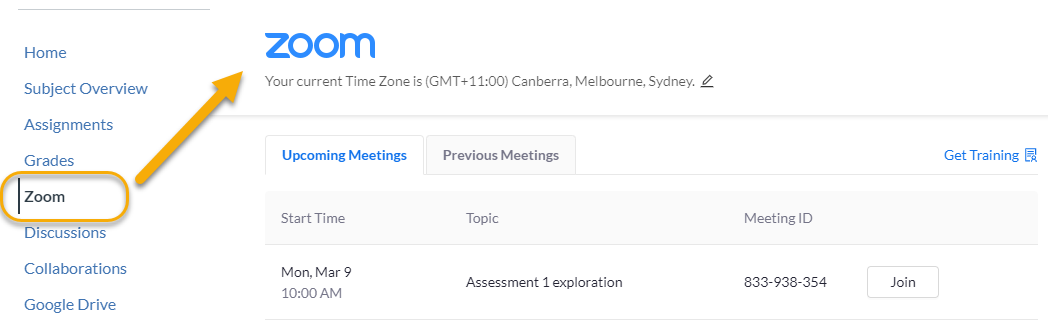
- Zoom area in the LMS - If your subject coordinator has created Zoom sessions through your LMS subject, you will see a link to Zoom in your subject navigation menu. Locate the appropriate session by matching the Start Time, Topic, and Meeting ID number (if provided to you).
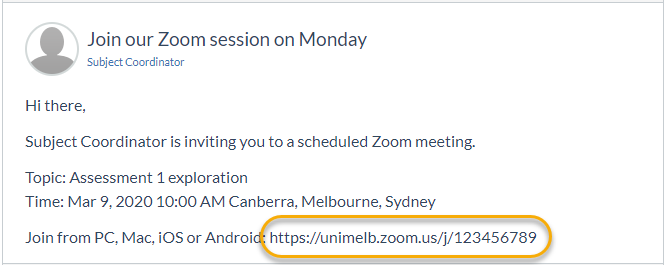
- Invitation with link to meeting - Alternatively, you may be sent a unique URL to join the Zoom meeting from your subject coordinator in an announcement or through another page in the LMS. This link is all you need to join your session at the scheduled time.
- Meeting ID - You may be sent an invite to Join a Meeting with a Meeting ID (e.g. 123-456-789) directly through Zoom.
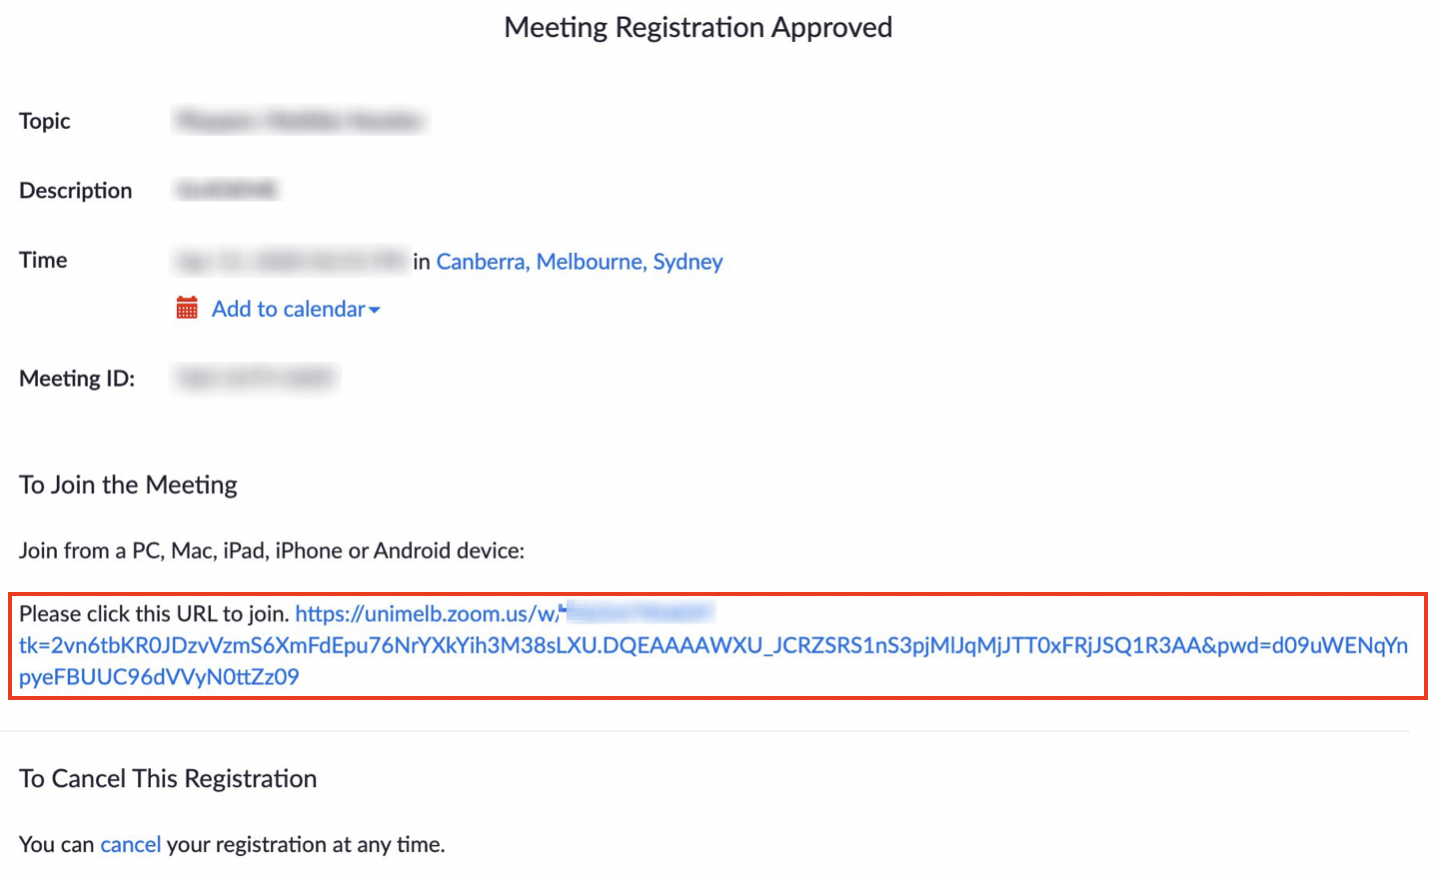
Registration required
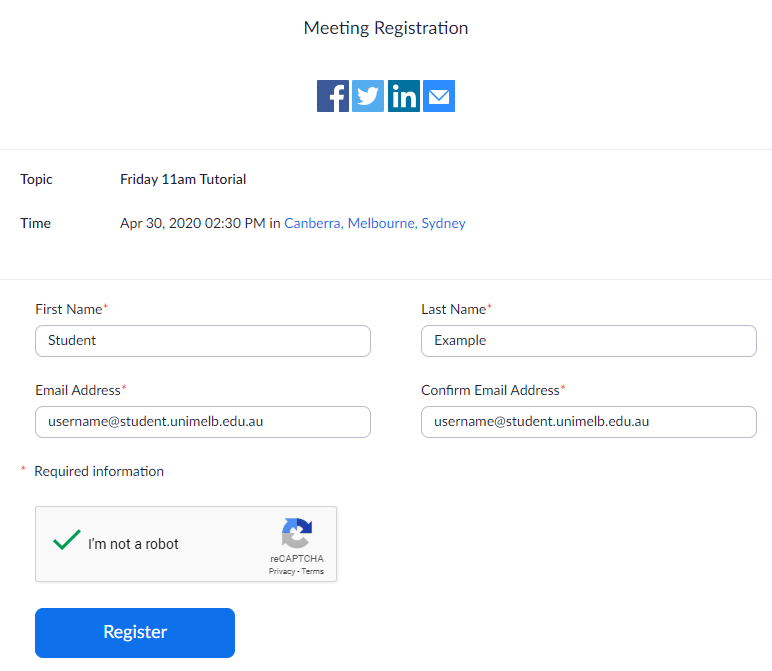
If your Subject Coordinator requires you to register for a meeting in Zoom, you MUST complete the meeting registration form or attend from the Zoom Mobile App or desktop application where you have logged in.
After joining the Zoom session using any of the four methods above, you will be prompted to enter your details to register including your First Name, Last Name and Email Address.
Important: You must use your username@student.unimelb.edu.au email address when joining all Zoom sessions.
Once you have successfully registered, a screen will appear with a link to join the Zoom session. An email confirmation will also be sent to your student email with an additional link to the session.
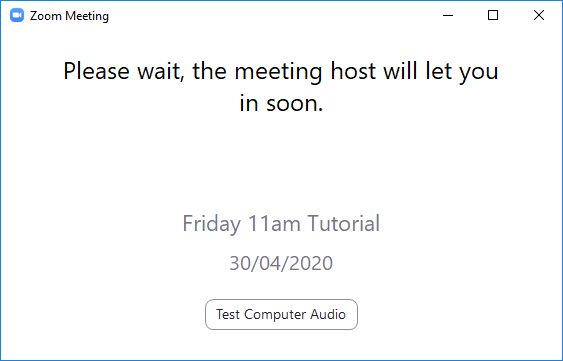
Waiting Room
When you click on the link to join the session, depending on how the host has set up the meeting, you may automatically be placed in a Waiting Room. In these cases, please wait until the host has joined and admitted you into the session.
Update Zoom software
For both staff and students at the University of Melbourne, you need to ensure that you’re using the latest version of Zoom. You should be on version 5.5 or above.
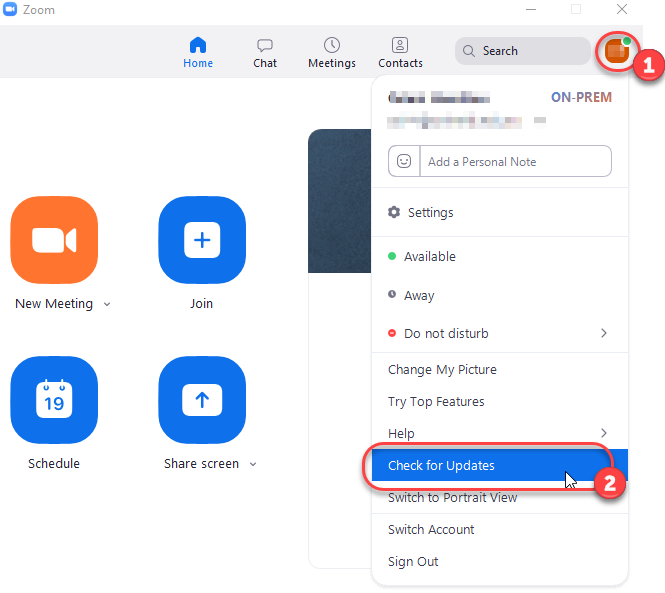
Check that you’re using the latest version of Zoom
- Open the Zoom application on your computer.
- Click on the Profile icon next to the search bar; this may appear your initials or as a picture if you have uploaded one.
- Select Check for Updates.
- If an update is available, follow the prompts to install it.
Tips to prepare for your Zoom session
- You can familarise yourself with the Zoom Meeting interface and test your audio and video any time you like by joining Zoom’s always available Test Meeting
- Additionally, once you have downloaded the Zoom software, you can access this anytime to test your audio/video and update your settings.
- Where possible, use a quality headset with microphone for your Zoom sessions, as this minimises audio issues (we don’t recommend using the computer’s built-in microphone or wired earbuds)
- Use Chrome rather than any other browser
- Use the most reliable internet connection you have access to, if necessary sit nearer your router if using wifi to improve connection
- Attend your session from a quiet location, with good lighting
- Avoid being in a room with others who are attending the same webinar, as it will cause an audio echo
- Remember to mute yourself when not actively speaking, and turn off your video if you need to step away for a moment or move locations
Set up Zoom with audio and video
After you have clicked to join your Zoom session, the Zoom dialogue box will appear. Simply enter your name and click Join.
You may be prompted to decide whether to join with video or not. Select your preferred option that which has been specified by your subject coordinator. Note that you will not get this option if you do not have a webcam. A webcam is not an essential requirement to be an active participant for most subjects.
You will them be shown the audio options dialogue box. It is recommended that you first click Test Speaker and Microphone before joining.
We recommended that you use a good quality headset (a headphone with an attached microphone) for all sessions. This will help reduce background noise and ensure good audio quality when you speak.
When you join a meeting, Zoom automatically identifies the speaker you are using – in-built speakers, a headphone or an attached speaker. Similarly, it identifies the microphone you are using. If you do not have a microphone you can still be an active participant in Zoom by using the Chat feature.
Note: Your audio and video preferences are saved for future Zoom sessions, so you don’t need to set up every time.
More information:
- Troubleshooting: My video/camera isn't working
- Troubleshooting: Testing computer or device audio
- Have a look at our Getting to know the Zoom interface guide to see how to change your audio and video settings and use all of Zoom's features while in a session.
- You can also update and test your audio settings or test your video settings using the Zoom software you have downloaded above.
- Update your pronouns and optional preferred settings by visiting https://zoom.us. To change your display name or profile image, please raise a support request.
Requesting captioning or live transcription
Visit our Zoom accessibility page for more details on accessibility options in Zoom.
Zoom support
For support downloading, accessing or using Zoom, please submit a support request.
This guide was last updated 04 Mar 2024.
Please report any errors or omissions in this guide by submitting an LMS support request.