Kaltura - Manage media in Canvas LMS
My Kaltura Media stores all your videos in Canvas and is only available to you. These videos can then be shared with members of a subject by adding videos to the Media Gallery or embedding videos in Canvas pages.
The Media Gallery is for your whole subject. You can use this to manage the video content in your subject, and work with other staff to build content together. Anyone in your subject can look at the videos in Kaltura Media Gallery.
Add a video to My Kaltura Media
- To access My Kaltura Media, go into any subject and click My Kaltura Media in the Subject Navigation menu.
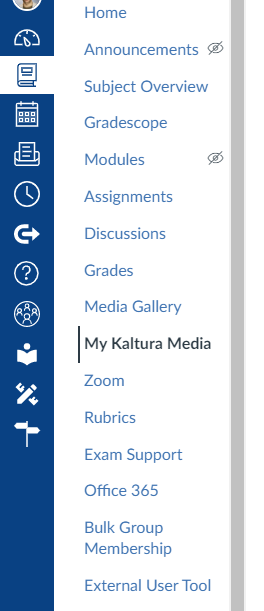
- Click the Add New button. You will have four options to select from: Media Upload, Express Capture, Kaltura Capture, and Video Quiz.
The instructions for adding video files using each of these resources are outlined below.

Media upload
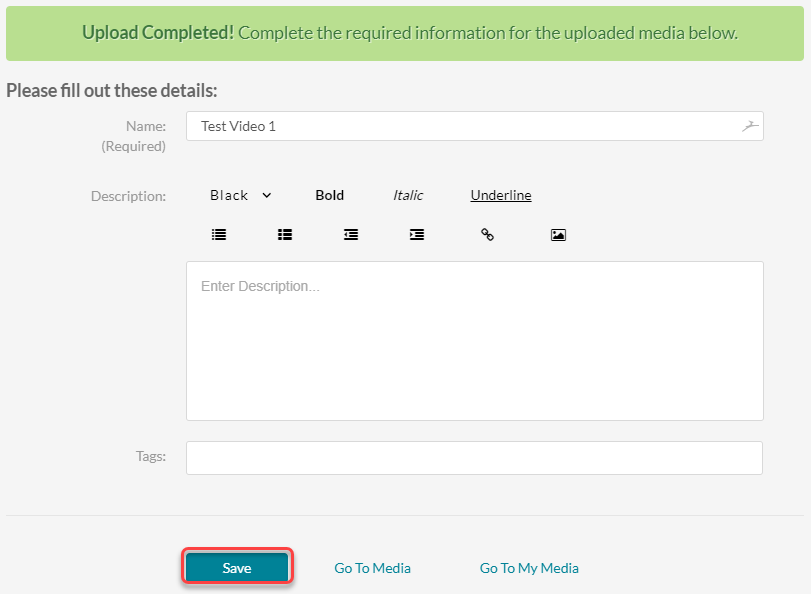
- Select the video file to upload. Make sure you save before you click away so that you do not lose any information.
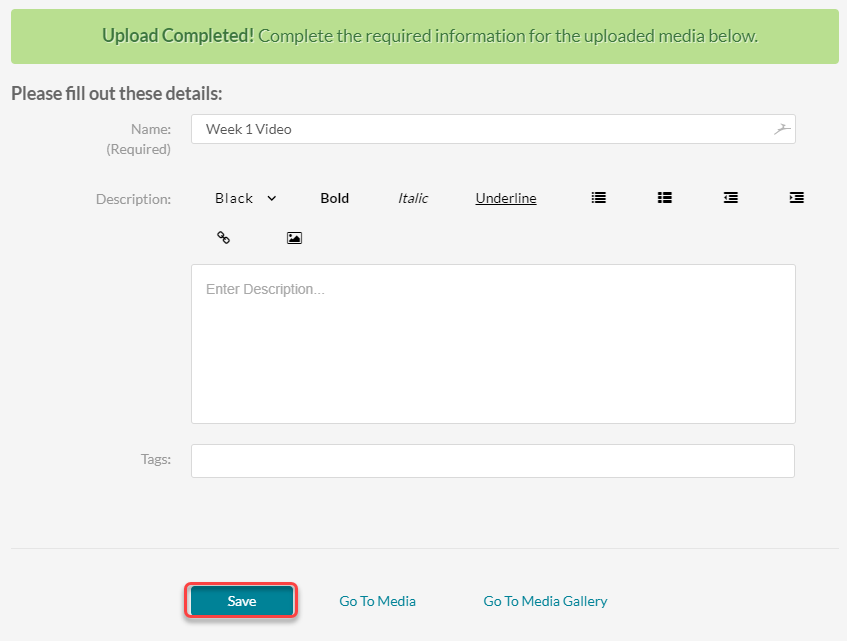
- To go to the video, click Go To Media. To go back to your My Kaltura Media page, click Go To Media Gallery.
Express Capture (webcam recording)
- You need to have a webcam and microphone for this option.
- Record the video. You will have the opportunity to review it and download the original file before uploading.
Kaltura Capture
- If you do not have Kaltura Capture installed, you will be prompted to download it.
- For further instructions on how to use this tool, visit the Kaltura website.
Add a video from Media Gallery to My Kaltura Media
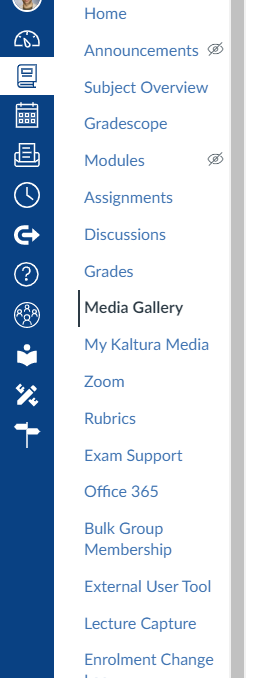
- To access My Kaltura Media for your subject, click Media Gallery in the Subject Navigation menu.
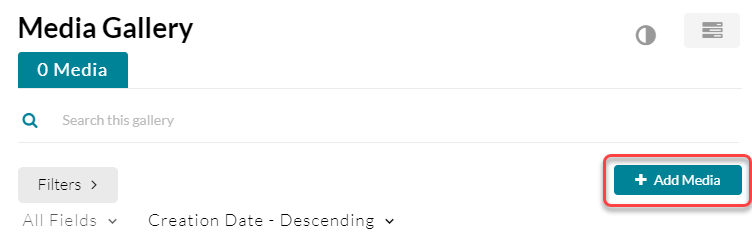
- Click + Add Media button. This will display all the videos you currently have in your My Kaltura Media page.
- Click the checkbox for each video you would like to add.
- Click Publish.

Upload a video to My Kaltura Media from the Media Gallery
- Click Media Gallery in the Subject Navigation menu.
- Click + Add Media button.

- Click the Add New button. Choose Media Upload to upload a video from your computer.

- Select the file to upload.
Note: Make sure you click Save before you click away so that you do not lose any information.
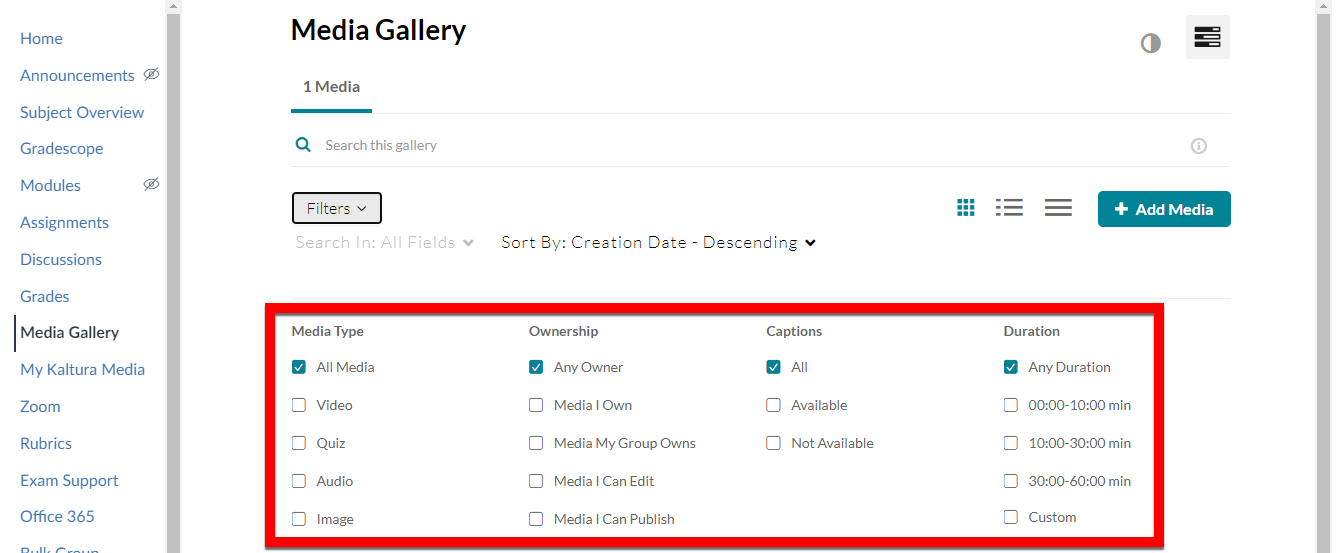
Filter videos in Kaltura Media Gallery
Clicking the Filters button will let you filter your videos by media type, ownership status, captions and duration.
Remove a video from Kaltura Media Gallery
- If you want to make changes to your video after it is published, you will have to remove it from the subject galleries it has been published in, and any pages where it has been embedded. If you access your video through My Media, it will show you this information.

- To remove a video from the Media Gallery, you will have to delete it. Click on Media Gallery.
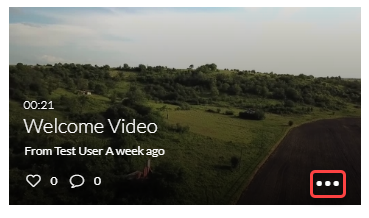
- Hover your cursor over the video you’d like to remove and click on the three dot button.
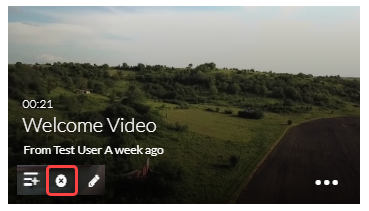
- Click the delete button that appears in the bottom left corner.
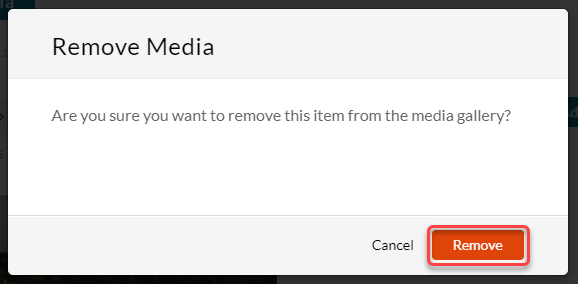
- A prompt will ask you if you want to remove this from the media gallery. Click Remove.
This only removes the video from the Media Gallery, and if the video was added from My Kaltura Media a copy will remain there (edited).
This guide was last updated 10 Nov 2022.
Please report any errors or omissions in this guide by submitting an LMS support request.