Create, edit and share blog posts in PebblePad
If you take time out to reflect on your learning experiences, you can maximise your retention of knowledge and increase your chances of academic success. One way to reflect is by keeping a blog in PebblePad.
What is a blog?
A blog is essentially a collection of posts or reflections on a topic. You might be asked to keep a blog as part of your course or subjects, or you might like to keep one to reflect on your studies as you complete your course. You could keep a blog to:
- Take regular notes on a subject/course you are completing (eg, to reflect on how your thinking has changed through your studies)
- Document a project you undertook and the process you went through
- Reflect regularly while on placement, clinic or study abroad/exchange
- Keep a collaborative blog as part of a group project.
Blogs are an easy way to document thoughts and reflections. You can create as many blogs as you like for different purposes and reuse any individual blog posts/reflections within other work. You can also create new blog posts on the go using the PebblePocket mobile app.
Create a blog and add a blog post in PebblePad
Watch the following video creating blogs in PebblePad (2:04 minutes) (PebblePad, 2018) on how to create a blog in PebblePad. If you prefer a text version, visit the Pebble+ Help: Blogs guide for further information on creating a blog and blog posts.
Edit and manage blog posts in PebblePad
Once you have created a blog post, there are a range of options available for editing and managing them:
- Make a post private
- Remove a post
- Edit a post
- Tag a post
- Map a post to competency standards
- Share a post.
To take any of these actions, first navigate to your blog in PebblePad.
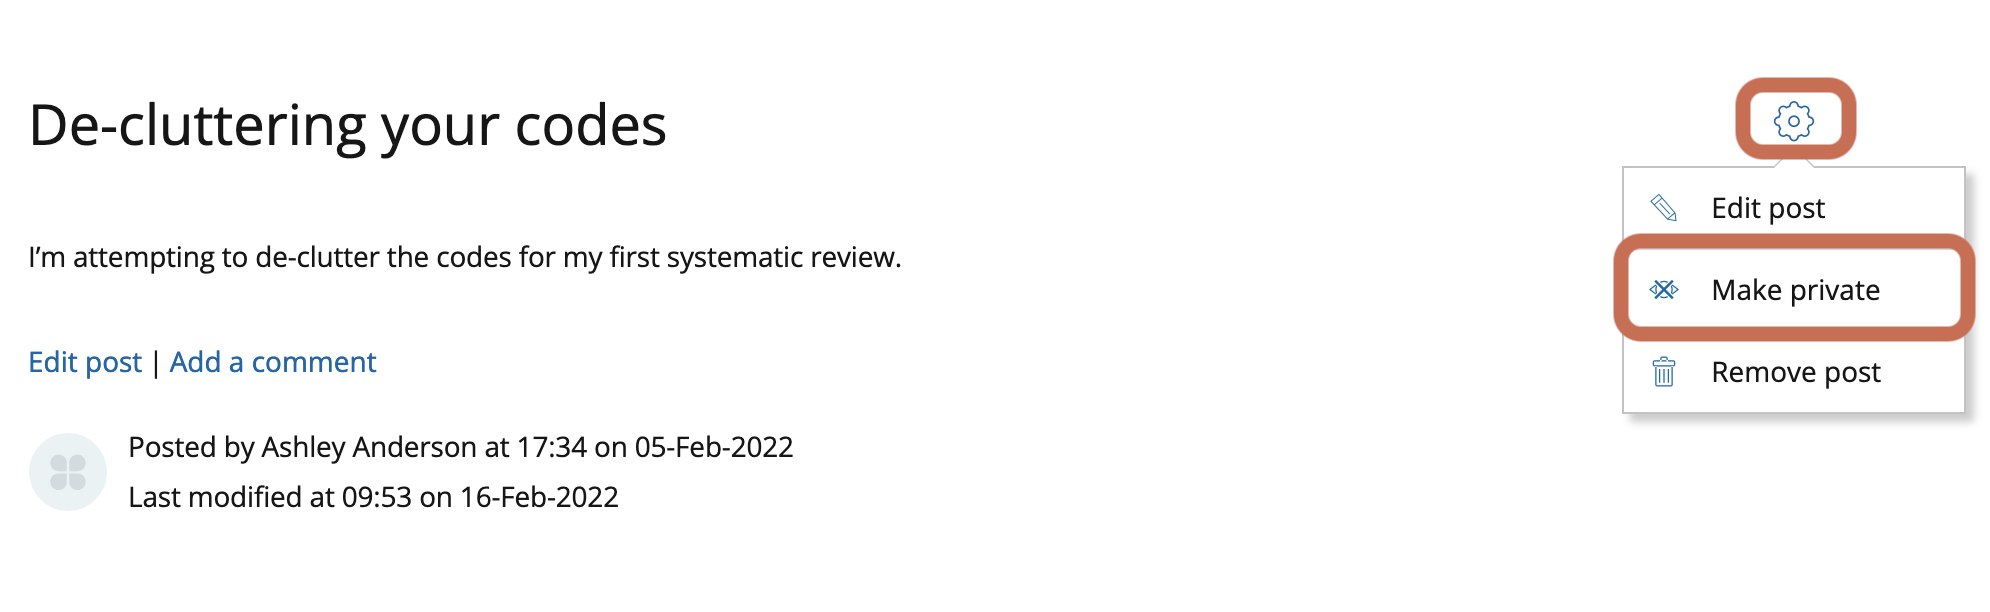
Make a blog post private
If your blog has been shared, you have the option of making individual posts private.
- On your blog page, locate your individual blog post in the display of posts and click the Settings icon (the cog) to the right of the blog post title.
- Select Make private.
Remove a post from your blog
- Next to the blog post title, click the Settings icon (the cog).
- Select Remove.
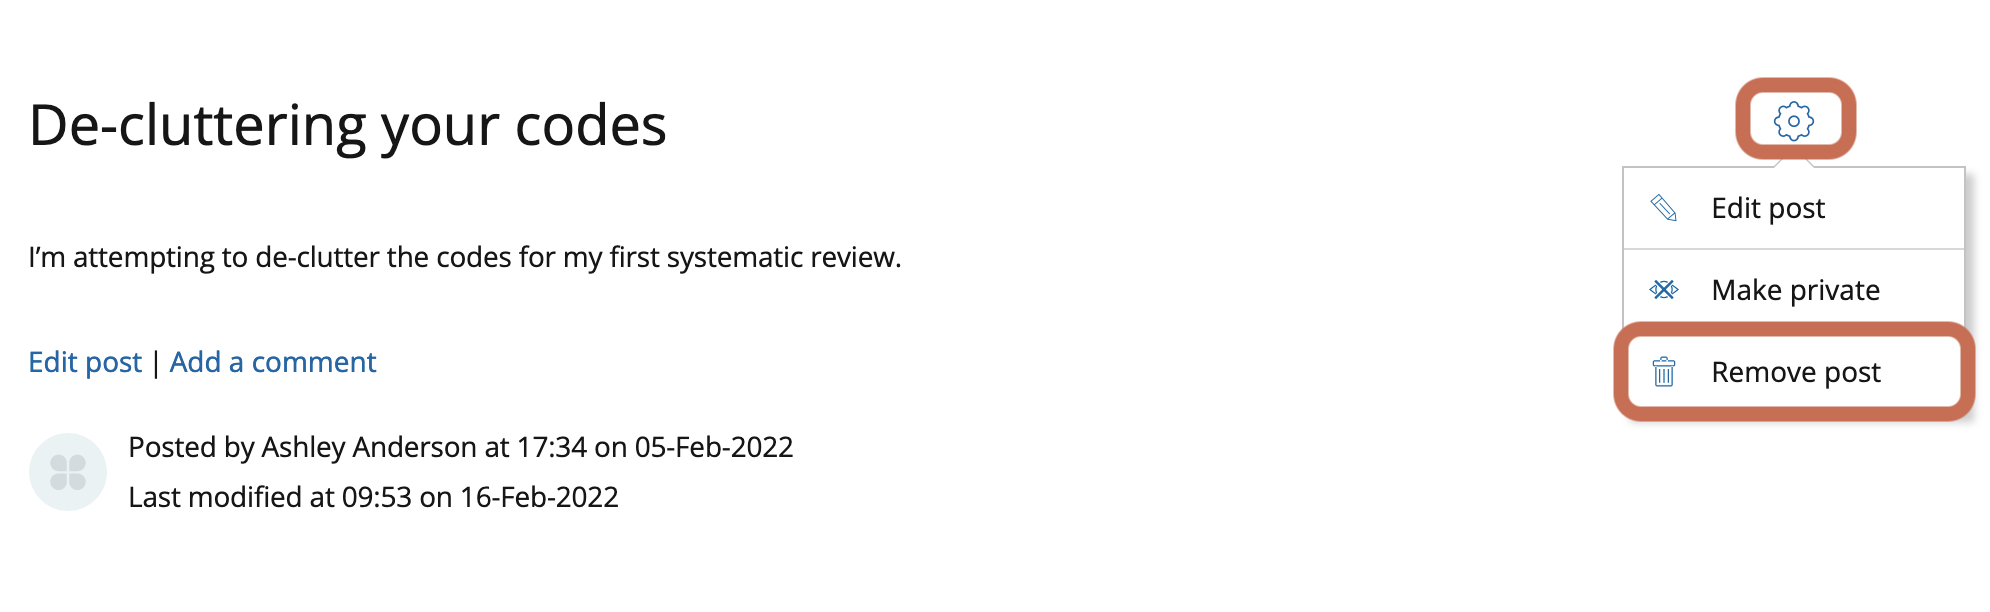
Clicking 'Remove' will remove the post from the blog, but it does not delete the post from your asset store. You can still use the post elsewhere if you want to.
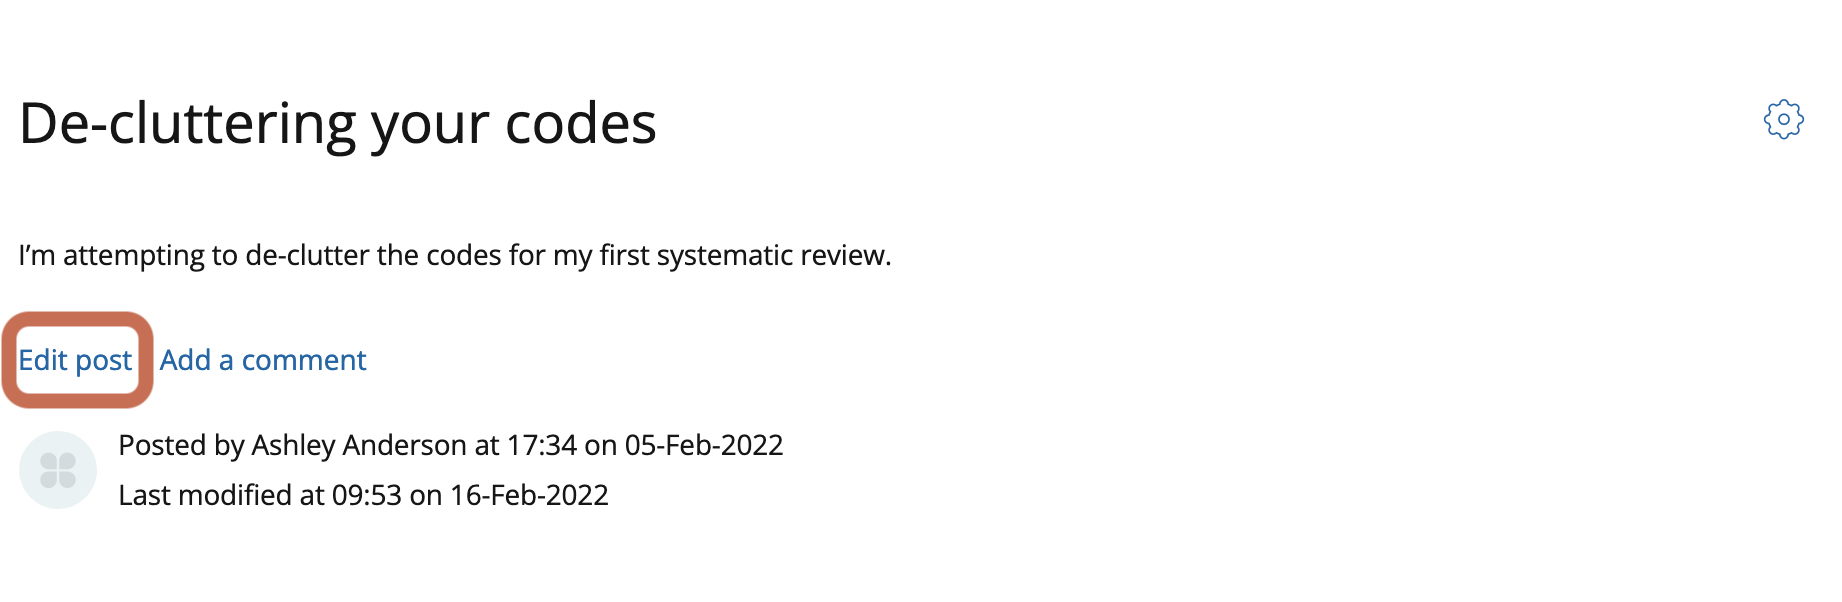
Edit post content
Click Edit post. You can now edit content or add more content to the post.
Tag a post so you can locate or reuse it later
- Under the blog post name click Edit post.
- In the blog post, choose 'I want to…' and select 'Tag' from the menu.
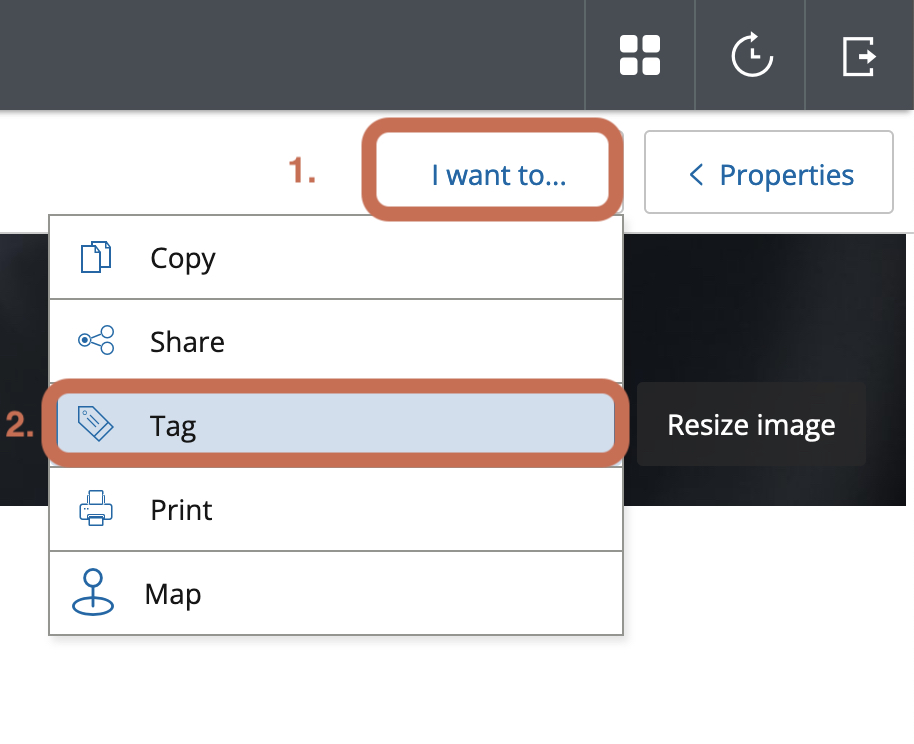
- Add tags as desired.
As each blog post is individually saved as a reflection within your asset store, you will now be able to search for the individual post easily within your asset store using advanced fields. You can also set up collections or activity logs to automatically collect any assets named with that tag.
Alternatively, you can also add tags directly to a blog reflection or any other asset via the asset store, if you know what it is named and can locate it individually within your asset store.
For further information on adding tags, refer to the Pebble+ Help: Tags page.
Map a post to competency standards
Only use the Map option if you have been specifically instructed to use mapping by your subject coordinator as part of your course/subject. Mapping is used for linking items to professional standards, competencies or graduate attributes.
- To map, first click Edit post under the blog post title.
- Then select 'I want to…' and choose 'Map'.
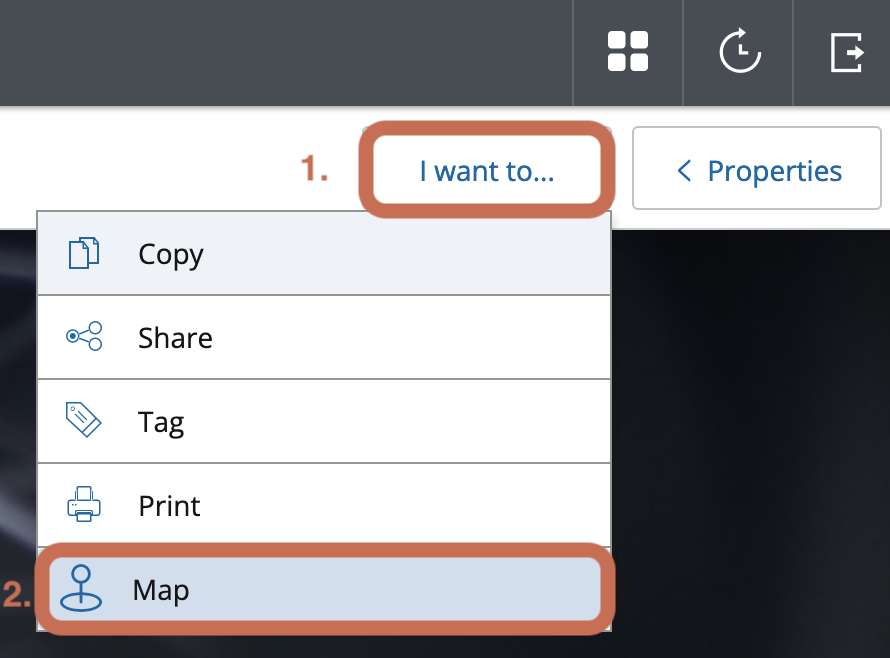
- Choose from the relevant competencies listed.
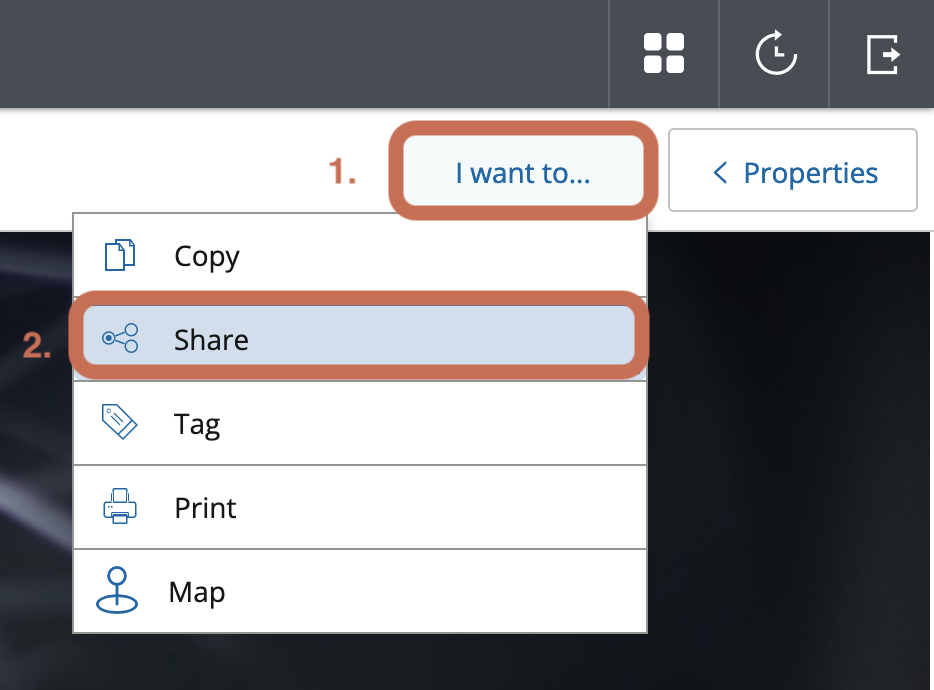
- Under the blog post title click Edit post.
- Then click the 'I want to…' button and select Share.
Share or submit your entire blog
You can share your entire blog the same way you would share a single blog post, or any other asset in your asset store.
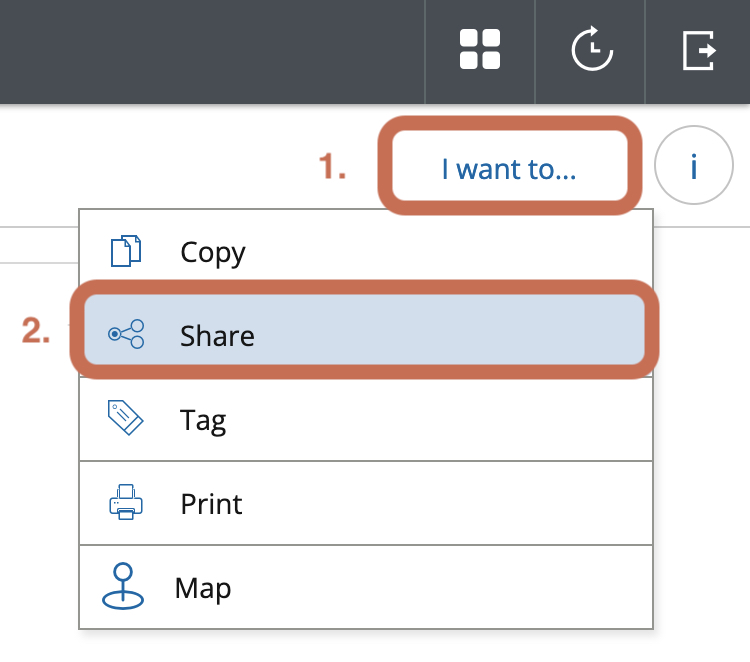
Open the blog, then click the 'I want to ...' button and select Share.
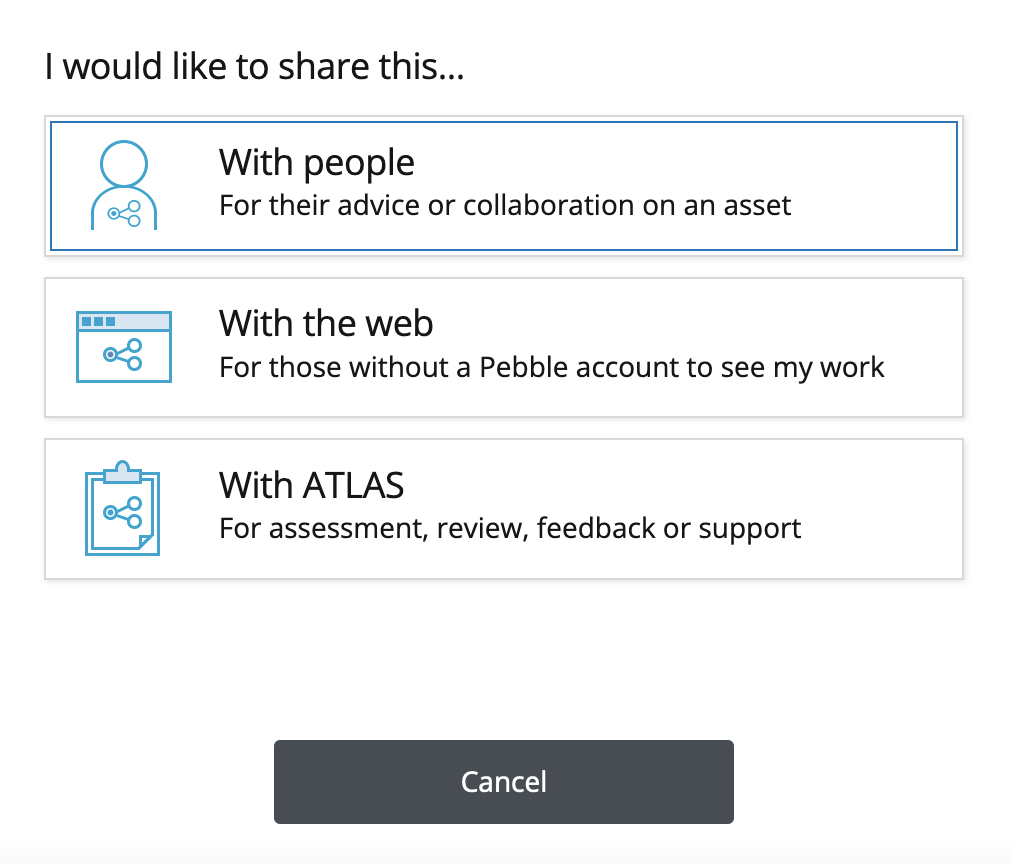
You can then choose to share with individuals (such as an employer or supervisor), with the web, or with ATLAS for assessment.
Alternatively, if you prefer to share just one reflection, you can share an individual blog post by selecting Share from within the post.
Further resources
For further information on sharing and submitting your PebblePad work:
- For more information on sharing your work with others for informal viewing and feedback, refer to the sharing options on PebblePad student guide.
- For more information on sharing/submitting your work for assessment, refer to the submit your PebblePad ePortfolio tasks through ATLAS student guide and to the assessment brief in this subject.
This guide was last updated 04 Apr 2022.
Please report any errors or omissions in this guide by submitting an LMS support request.