Using the equipment in blended synchronous learning spaces (old touchpanel)
This guide provides information on the in-room technology used to support the blended synchronous learning teaching mode
This guide is for the old touch panels. For the updated touch panels, use the new touch panel guide.
Blended synchronous learning (BSL) refers to learning activities that are conducted simultaneously for both campus-based and remote students as a single group. A number of University of Melbourne spaces have been upgraded with additional equipment to facilitate blended synchronous learning.
This guide refers to the AV equipment in the following spaces:
- The Spot - 6015
- The Spot - 5013
For information on using the touch panel in the following BSL spaces please refer to this guide.
Using the touch panel
The AV touch panel is the main control panel for any audio/visual equipment connected in the teaching space. From this panel you can make adjustments to cameras, microphones, displays and lighting. In BSL supported spaces you can also connect in-venue cameras, displays, document cameras and audio to remote participants through web conferencing platforms such as Zoom.
Display content in the teaching space

Under Computer, presenters can select a camera or connected device to display throughout the teaching space.
PC: Displays the main lectern computer.
Note: In order to see and hear remote participants through the AV system in the teaching space 'PC' must be selected as the source
Laptop: Displays any connected external devices such as a laptop or iPad
Projectors: Displays the connected source on the projectors in the room
LCD Displays: Displays the connected source on the LCD displays in the room
Web conference

Under Web Conference, presenters can select the device/camera to display in a connected Zoom meeting. This source will be visible to all remote participants in Zoom.

Cameras
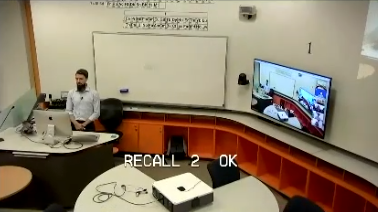
Each space is equipped with two cameras - one captures the presenter area, the other captures the audience area. Both can be controlled via the AV touch panel using presets. Depending on location, there may also be predefined camera angles such as whiteboard area, wider presenter area and additional student pods.
Fixed presets
In addition to the camera and device selection options, presenters have the ability to display different commonly used camera views using fixed presets.
The fixed preset options include:

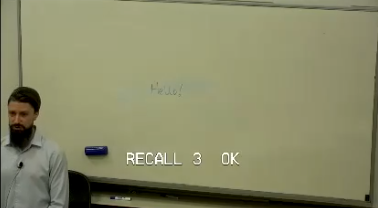
User presets

Presenters can use the user preset buttons to switch between custom camera views. To save a custom camera view, use the Pan/Tilt and Zoom buttons to manually adjust the direction the camera is pointing. Then press and hold one of the three user buttons to save the custom camera view for the duration of the class.
Note: The University of Melbourne logo will appear briefly when switching between different modes/cameras on the AV touch panel.

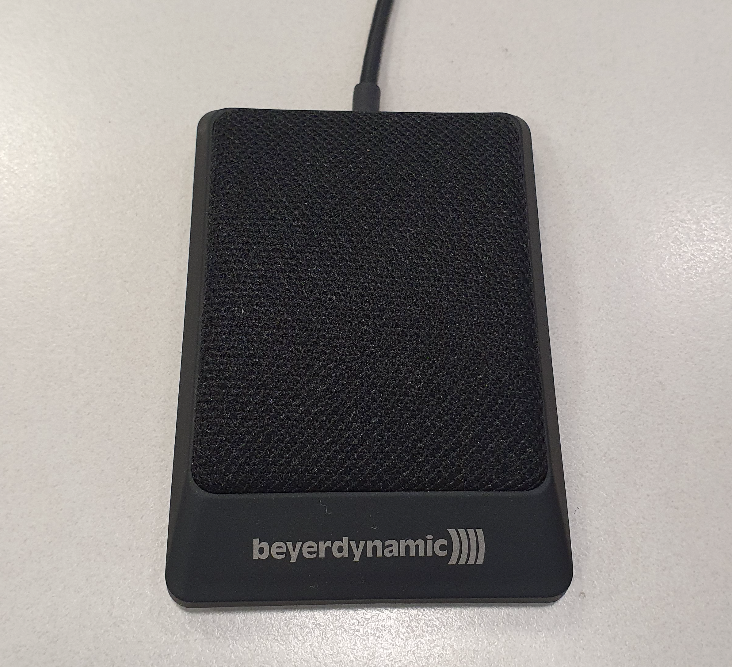
Microphones
A desk microphone and lapel microphone are available to use when moving around the room. Each BSL space has up to four handheld microphones to capture audience responses which can be passed around. Both the lapel and handheld microphones can be found in the charging dock next to the teaching area.
Student pods
In certain BSL spaces, there are student pods with fixed microphones installed to capture responses. Each pod has a dedicated microphone, power outlets and display cables for laptops. Participants then have the ability to share their laptop screen on the display behind their connected pod.
Important note: Microphones found on student pods are muted by default. Please use the touchpanel controls to unmute student pod microphones.

This guide was last updated 26 May 2022.
Please report any errors or omissions in this guide by submitting an LMS support request.