Using student activity data to check in and support learning
You can use student activity data to check in on how your students are engaging with online activities and resources and progressing through a subject. This allows you to:
- Support students by identifying those who may benefit from additional assistance or resources
- Gain a more general overview of strengths and weaknesses in student learning and tailor communications and resources to student needs.
How do I access student activity data in my LMS subject?
Your LMS subject includes tools to check in on student activity and progress. You can use these tools to observe data about a group or about individual student activity.
New Analytics
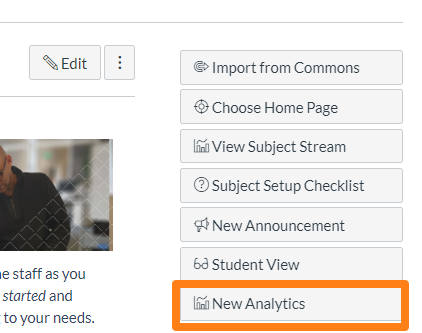
Once students have been active in your subject, a New Analytics button will appear on the right-hand side of your subject's home page.
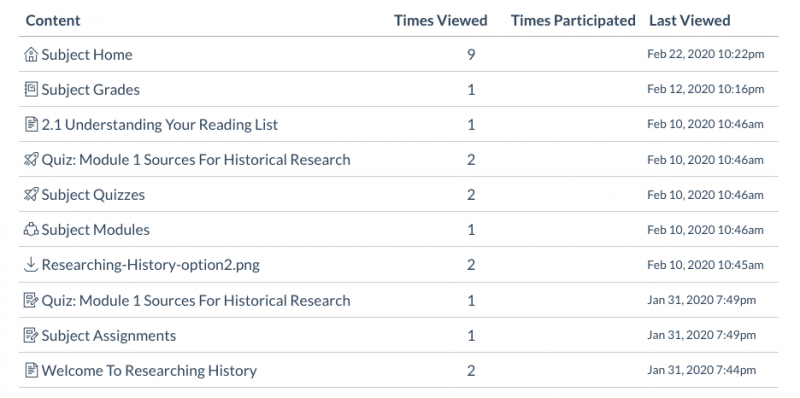
The New Analytics tool presents weekly online activity data in a graph. It includes a table of that student's activity or resources views. You can link to individual data, and the analytics can also be downloaded as three .csv files.
The student file download includes the students name, email address and student ID.
Note: For large classes, give the system a few extra seconds to load all the data.
See these Canvas guides on New Analytics.
Access Reports
An Access Report for an individual student can be found via the People or Grades tools.
The People tool lists all staff and students in the subject and the time and date of their last activity. Clicking on a student's name from this list will open a box on the right with more information about the student.

Clicking on the student's name in this box will provide several options; click Access Report to see which content and activities a student has accessed.
This guide provides information on how to view the course access report for an individual user.
How do I use student activity data to support learning and engagement?
You can use New Analytics to plan tailored communication that encourages student engagement.
You can filter the data by Sections or Student Name, and have the option to message students or groups of students based on this data.
Step one: go to the New Analytics page
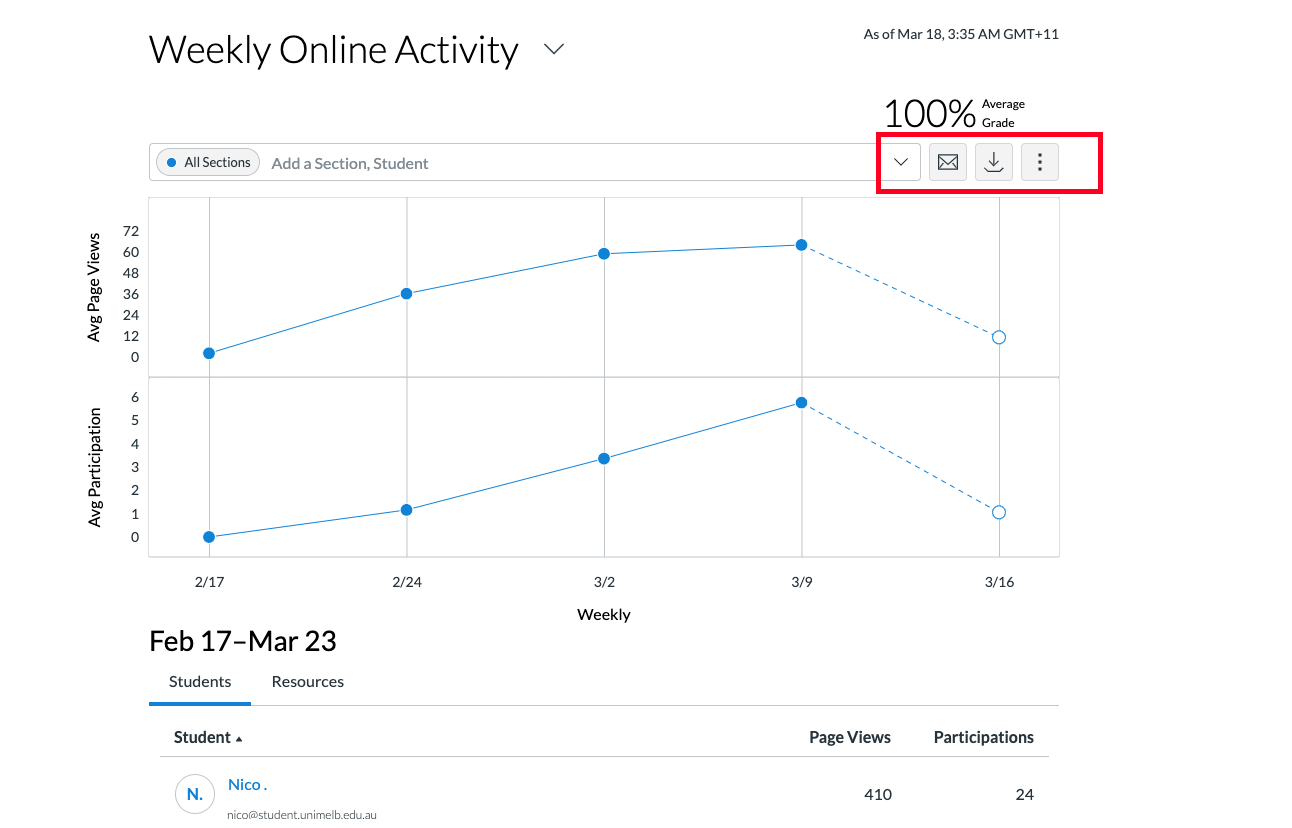
Step two: select the envelope symbol
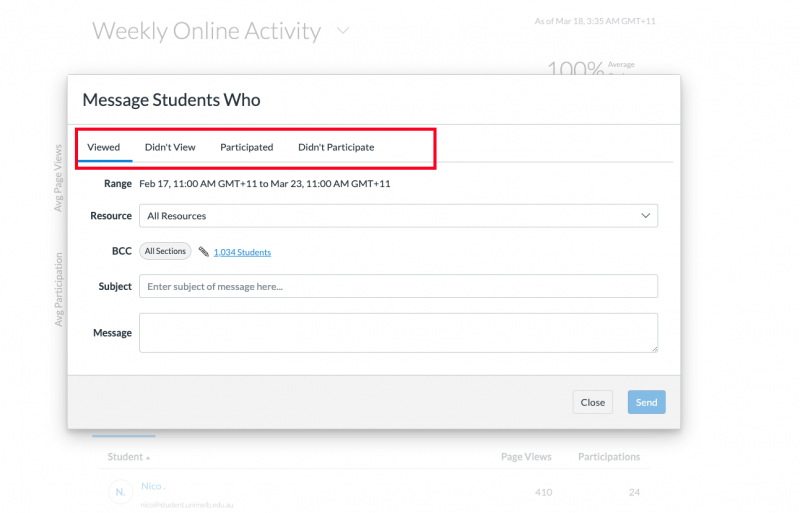
Step three: select your options
- Student access (Viewed, Didn’t View etc)
- Which resource you are contacting students about (for example: a particular learning activity, or All Resources)
- BCC: Shows you how many and which students the message will be going to, and allows you to add or delete message recipients
- Message details: Subject of the message you are sending, and of course the message itself.
This guide was last updated 12 Mar 2024.
Please report any errors or omissions in this guide by submitting an LMS support request.