Poll Everywhere in the LMS
Staff can utilise various options to share and display activities and results created in Poll Everywhere with students in the LMS. Additionally, activity reports can be imported to the Gradebook for marking.
While Poll Everywhere does not have an integration for use directly in the LMS, a variety of options are available to distribute activities and results to students through the LMS:
- Add a simple URL link in your subject content to your personal URL to display active polls, or link directly to any published activity
- Embed activities and results pages within a content page using HTML
- Add activities as an item within a Module
Additionally, staff can use Poll Everywhere to generate a column in the Gradebook to record results.
Options to distribute activities and results to students
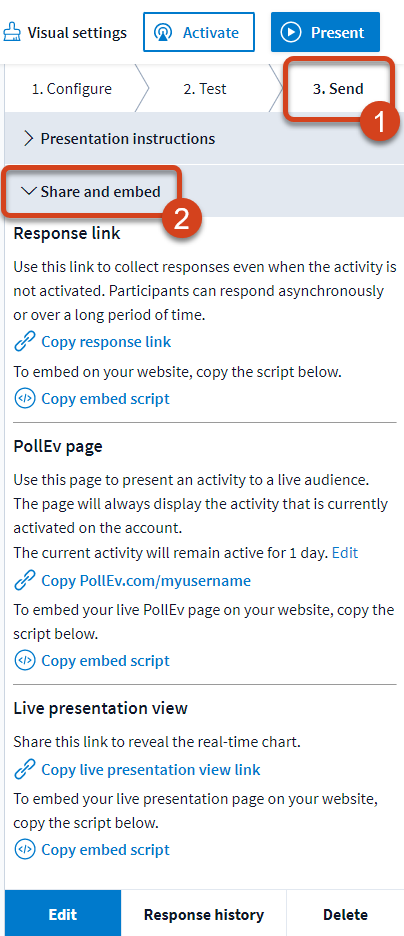
For each of these options, you must first access the shareable links available in your activity:
|  |
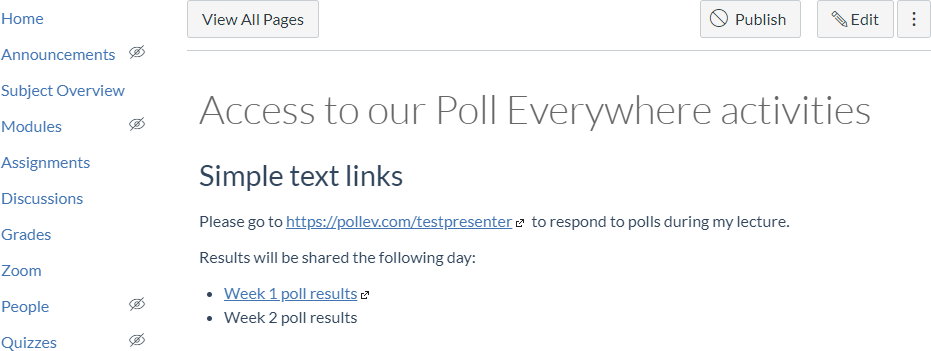
Add a simple URL link into content pages
- With the relevant Copy link option selected, navigate to the required page in your subject or community and click Edit
- Type in some content and highlight the words to be hyperlinked
- Click the link icon in the editor toolbar and select External Link
- Paste in the copied URL and click Save
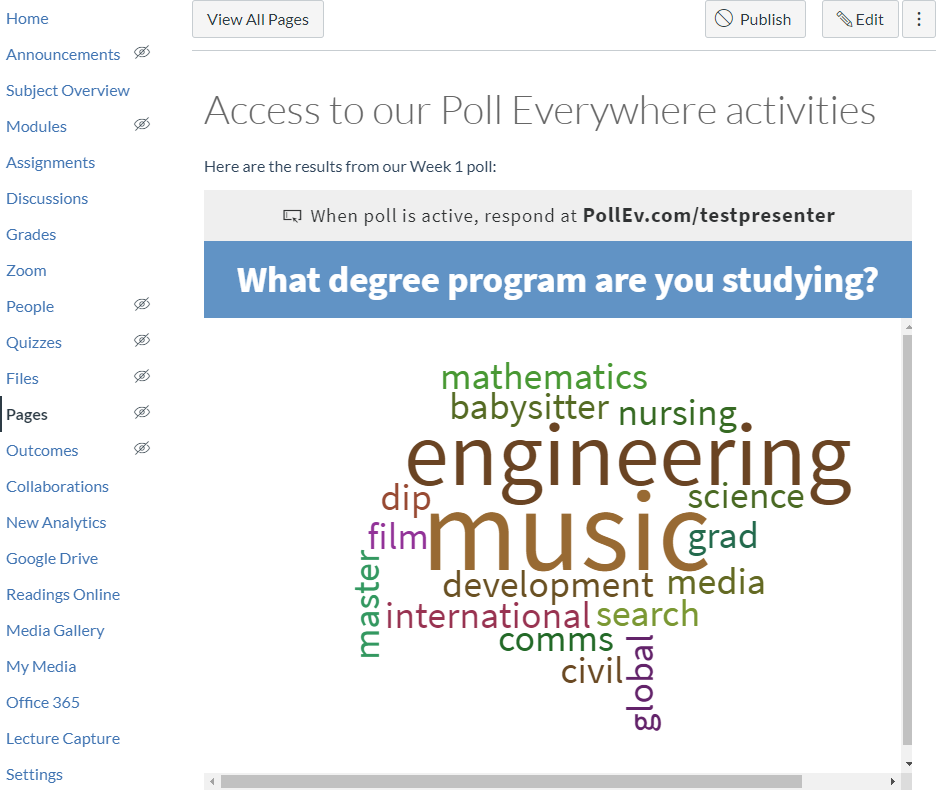
Embed activity or live results screen in a content page
Depending on the question type, some polls can also be embedded directly into a subject or community to allow students access to answer the poll from within the LMS. Additionally, live or static results can be displayed from a content page.
Some HTML knowledge may be required to resize and display these embedded polls suitably. Note, this option is only available for <iframe> tags; embeds which require <script> tags will not work in LMS content pages.
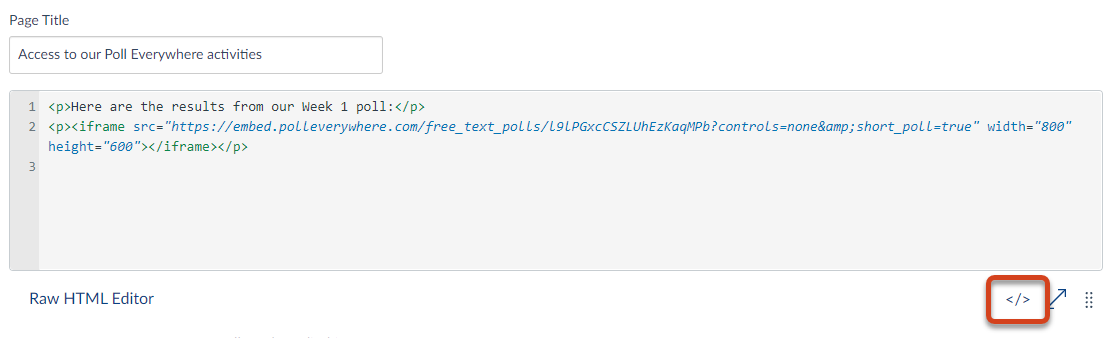
- With the relevant HTML content copied from the Copy embed script option, click on the coding icon underneath the text editor to switch to the raw HTML editor.
- Paste in the code and click Save.
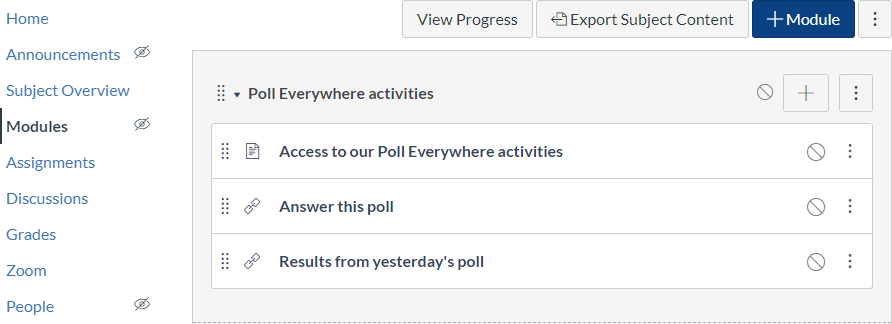
Add activities to a Module
This option displays your activity as a standalone item within a Module in your subject.
- Click on Module in the subject navigation menu, then select Add Item to Module.
- Select External URL from the drop-down menu, then paste the copied link and name the item.
- Click the Add Item button in the bottom right. Your activity appears as new item in your Module.
Export activity results to the Gradebook
Poll Everywhere has a LMS integration to import class rosters and export Gradebook reports. This is useful when you would like to grade an activity you have created in Poll Everywhere.
To enable the integration, you will first need to link your LMS user account with your Poll Everywhere user account. You will only need to do this once. After the integration has been authorised, you will have the option to import class rosters as participant groups into Poll Everywhere, then export the reports into the Gradebook.
Students can access and participate in your live poll using a shareable URL. You can choose to add this as a link on content page or embed it within a Module.
Step 1. Import your roster to register students
If you have not done so already, you will need to link your LMS user account with Poll Everywhere by adding a Poll Everywhere external tool item to your subject module, before you can import your roster.
Note: When you import the roster, Poll Everywhere will send an automated Poll Everywhere registration invite email to students.
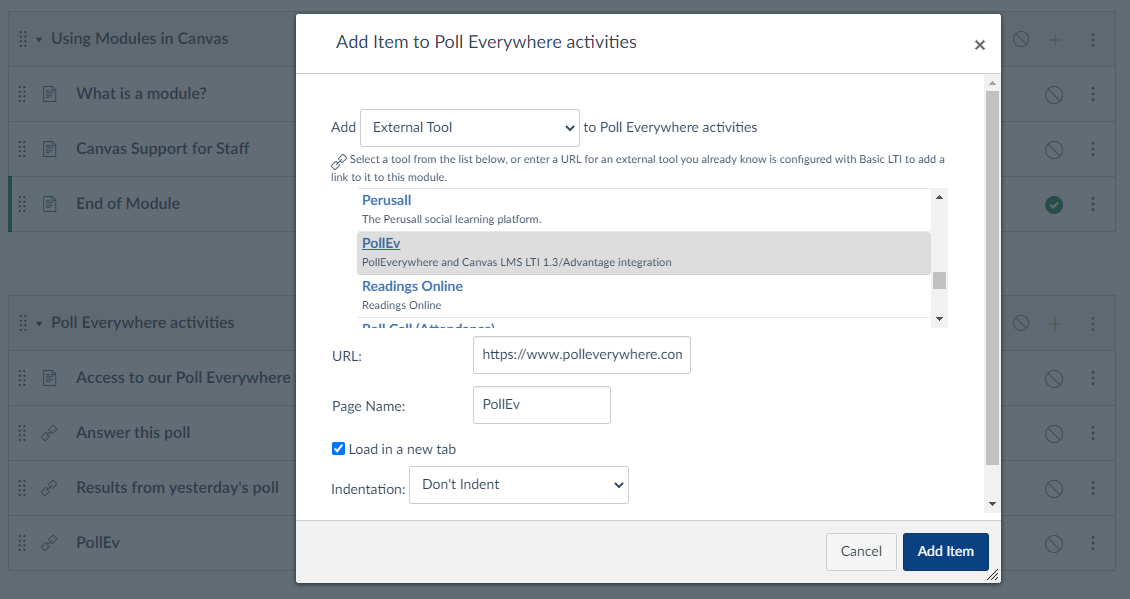
- In your LMS subject, click on Modules in the subject navigation menu, then choose an appropriate area and click Add Item to Module.
- Select External Tool from the first drop-down menu, then choose PollEv from the list provided, and tick Load in a new tab below. When ready, click the Add Item button in the bottom right.
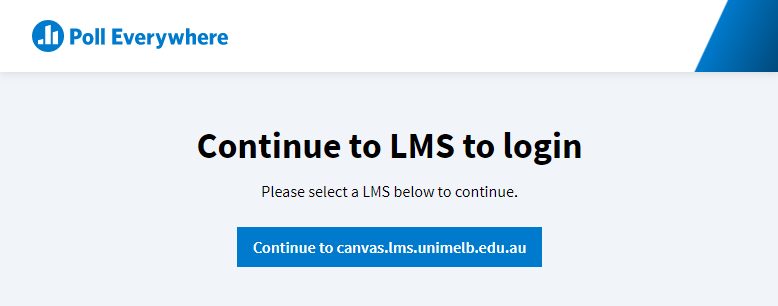
- Open the new PollEv Module item and click the Load PollEv in a new window button to launch the Poll Everywhere connection.
- Follow the button to Continue to canvas.lms.unimelb.edu.au
- You may be prompted to log in to Poll Everywhere at this stage; please ensure you use your staff email.
- Click Sync Roster. This starts the process of importing students associated with your subject in the LMS.
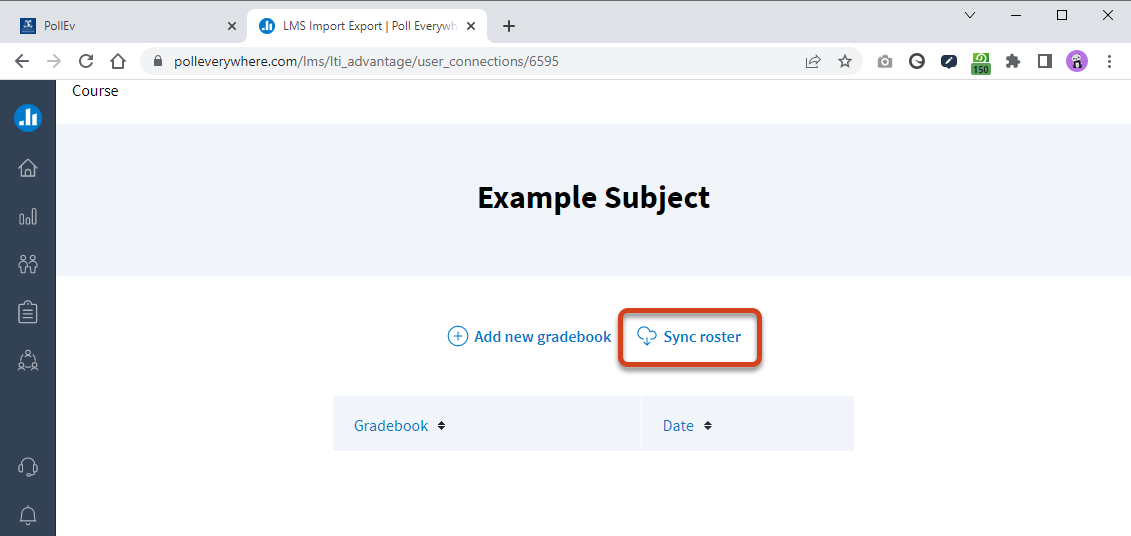
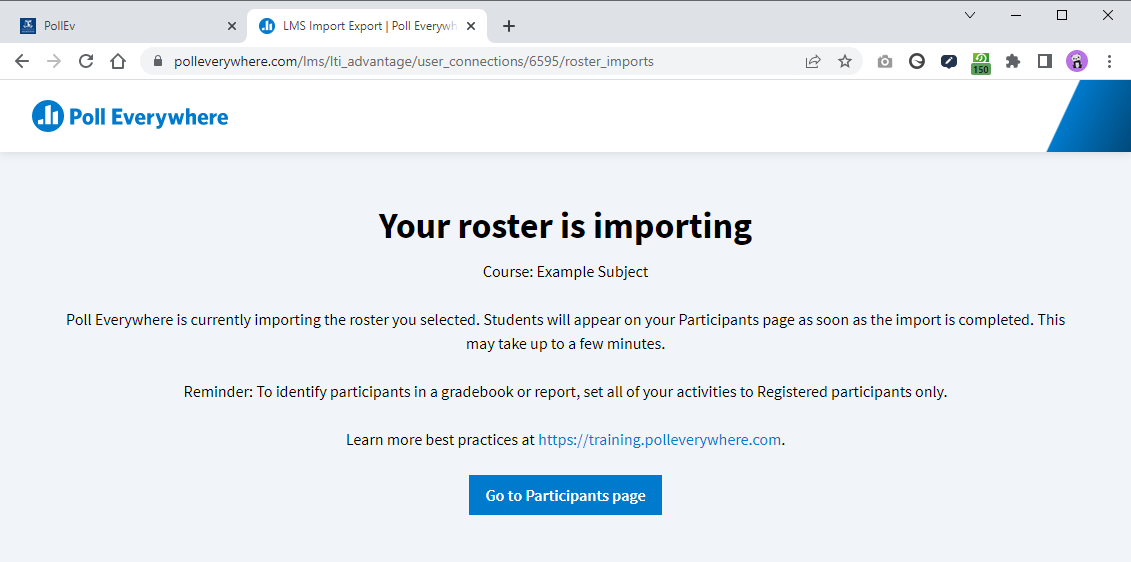
- You will receive a notification that Poll Everywhere is importing the roster. This may take some time if you have a large number of students in your subject. Click Go to Participants page to proceed.
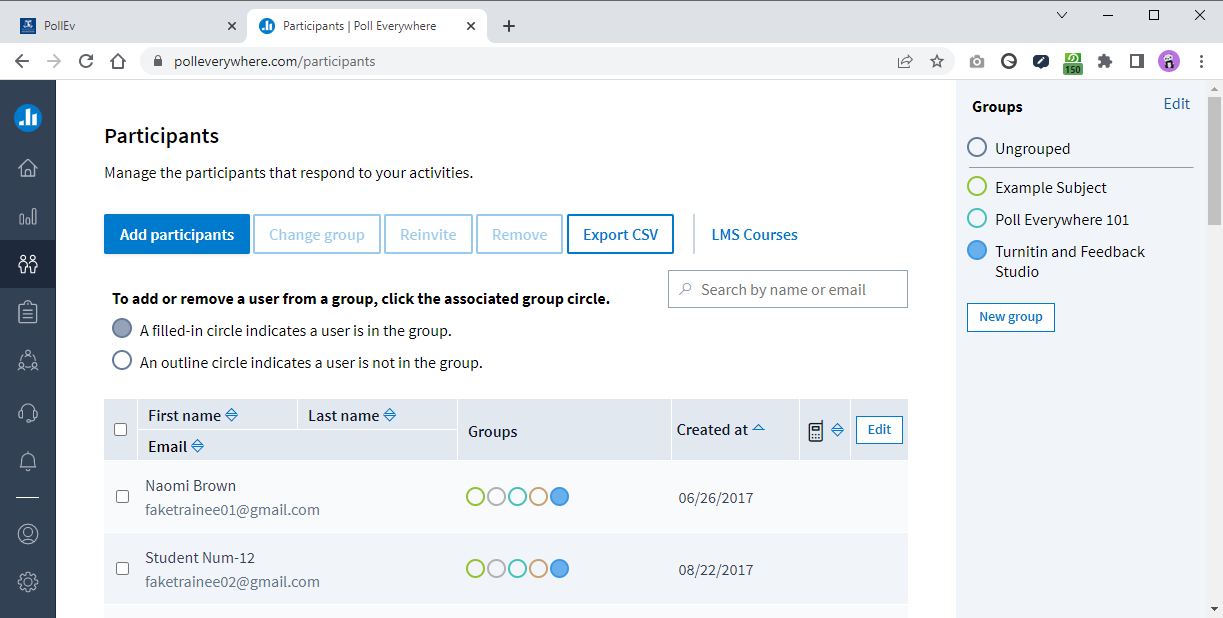
- Tip: Using the Groups filter on right-hand panel, you can filter for your subject to check which students have been imported to PollEverywhere.
Step 2. Complete the activity
You can now direct students to complete your graded activity using any of the methods described above. Once all responses have been collected, you must export the results for use in the Gradebook.
A couple of important reminders:
- Create graded activities if you want them to appear in the Gradebook.
- Import the roster before you activate and share the link with your students.
- Ensure to check Restrict to registered participants only under the Configure settings.
- Remind your students to register/login to Poll Everywhere with their UoM student email address.
Step 3. Export activity results and view in Gradebook
Once you have received the responses you will need to run a Report in Poll Everywhere. Each report you export will create a single grade column in the Gradebook, regardless of the number of activities in the report.
- Go to Reports in the navigation menu
- Click the Create report button
- Select Gradebook as the report type and click Continue.

- Navigate through your activities folders to select the one(s) your students submitted responses to, then click Create Report to generate the report for the selected activity.
- Review the report that has been generated. You may wish to rename the report, as this will be the title given to the Gradebook column in the LMS.
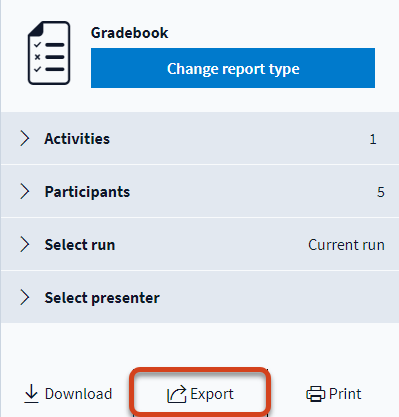
- When ready, click Export in the bottom-right section.
- A pop-up will display that will either ask you to confirm the subject applied, or select the required subject from a dropdown menu. You must also select from Grade or Participation.
- Click Next. This begins the process of uploading the graded activity results into the Gradebook of that subject.
- Click Close on the Export Complete confirmation.
You can now go to the relevant subject in the LMS and click Grades in the subject navigation menu to open the Gradebook. You should now see a new column for the activity which displays the results.
This guide was last updated 04 Jul 2022.
Please report any errors or omissions in this guide by submitting an LMS support request.